
I take no credit for this write up, all credit goes to J_dEAL of gmfullsize.com
Thanks to Budrun, I was able to get the information I needed to successfully clear Denali headlights. This is not for the faint of heart. It is a difficult and tedious process, but if you take your time, they will come out great. It should take you roughly 2 hours per light. Do this outside or somewhere you don't mind getting dirty. When you cut the housing, it makes a lot of dust.
So on to the goods.
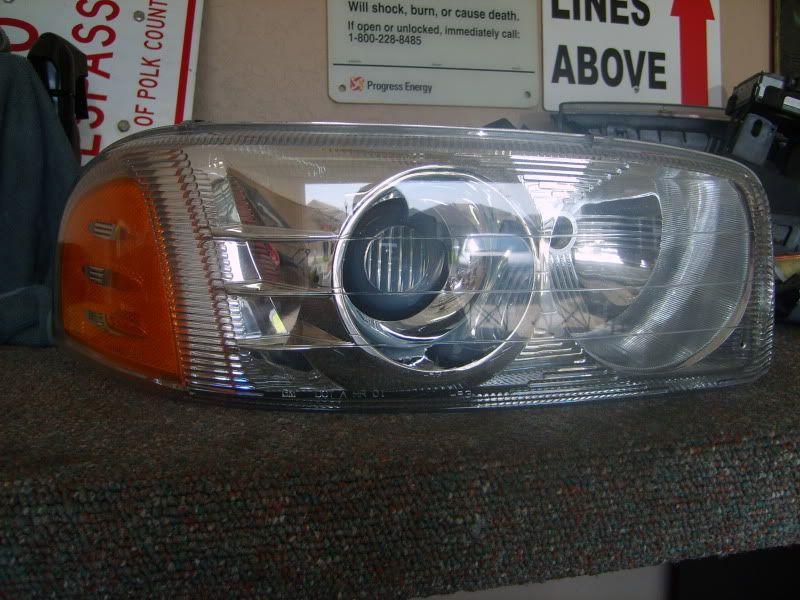
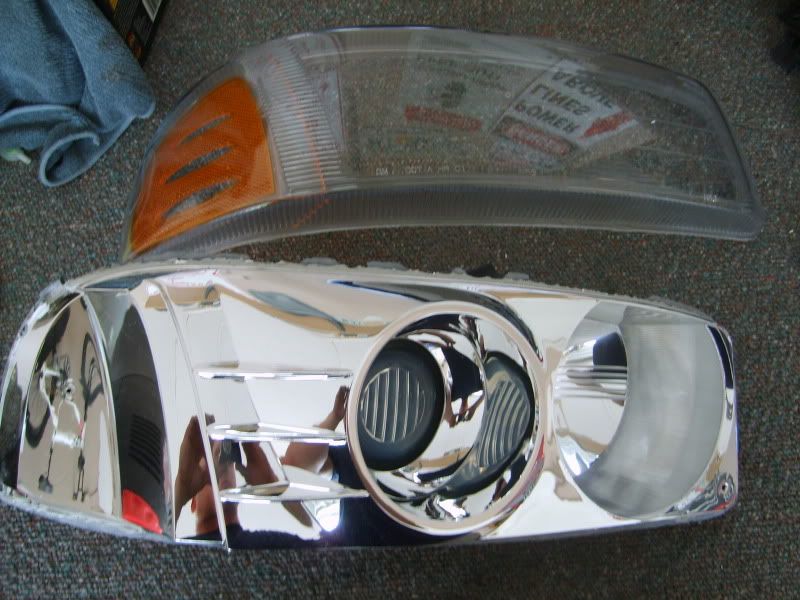
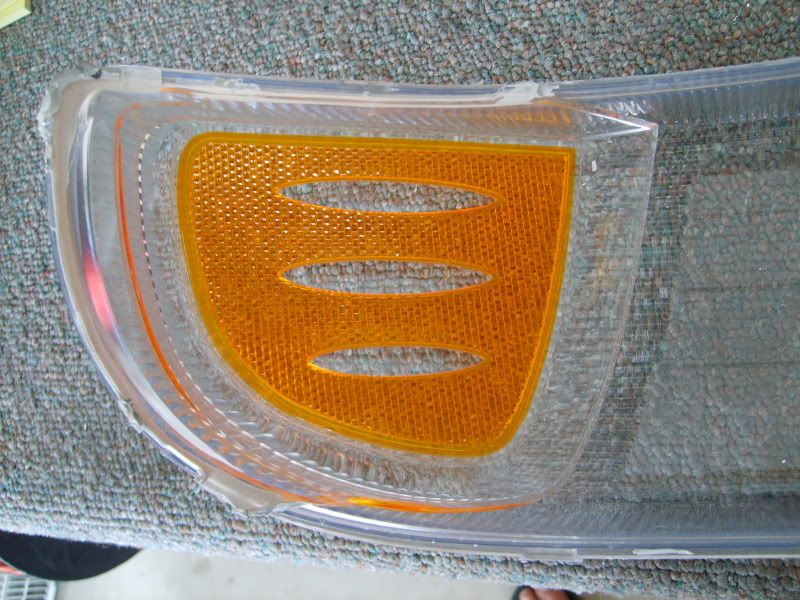
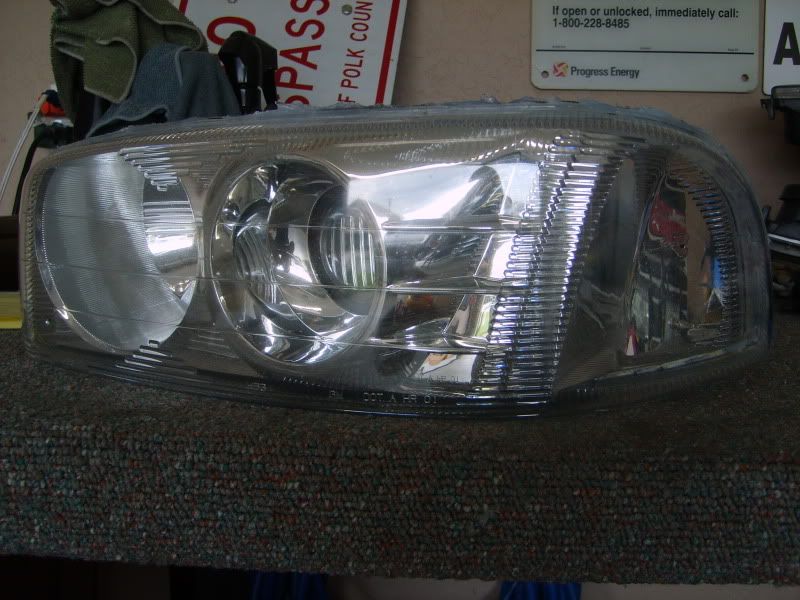
Say goodbye to the ugly amber lenses.
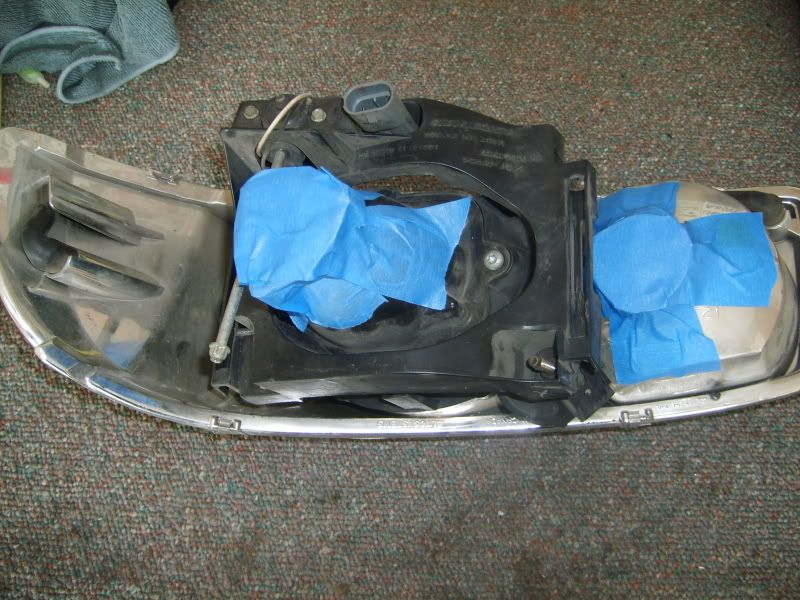
Start by removing the bulbs and taping off the openings so they don't get full of dust.
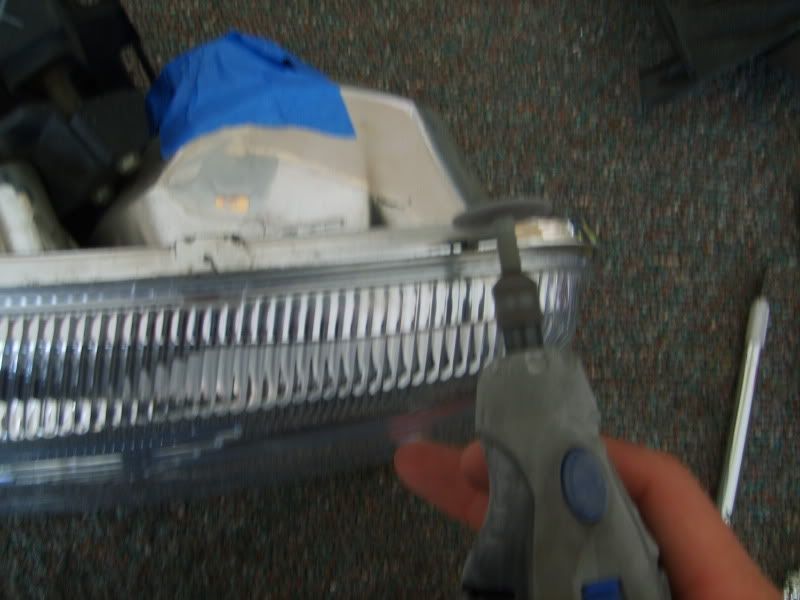
Use a Dremel with a cut off wheel to cut through the lip of the light housing all the way around the entire light.
Next, use a small flathead screwdriver to break off all the lip you just cut with the Dremel.
Once you have gotten all the plastic lip off, the glue will be exposed. Using your tool of choice, pick as much of it off as possible, around the entire light.
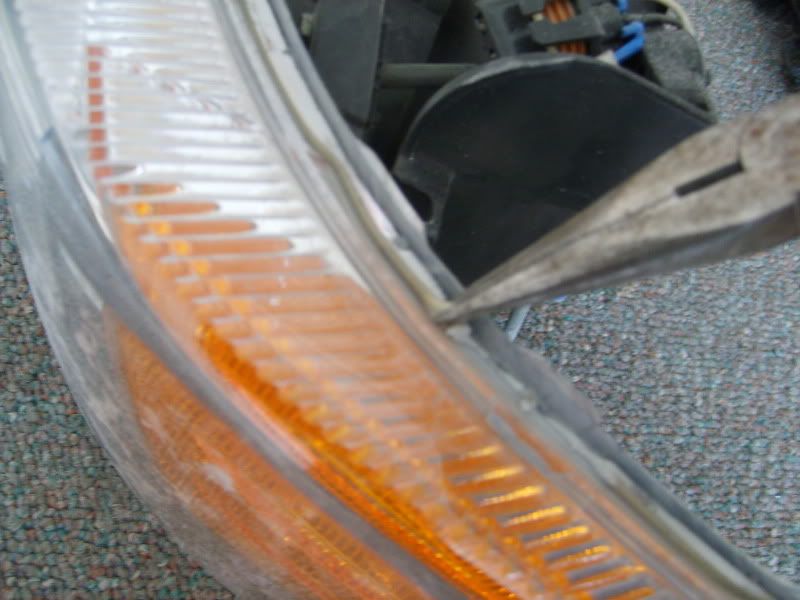
After you get all the evil glue off, this is what it should look like.
Now use a heat gun to heat up the glue under the lense. I ran mine on high heat but didn't leave it in one place for very long. Be careful not to melt the plastic.
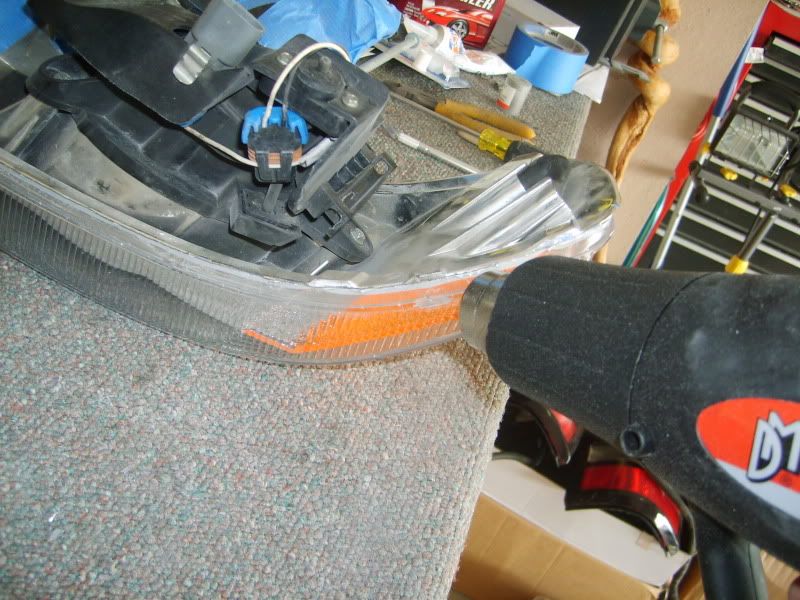
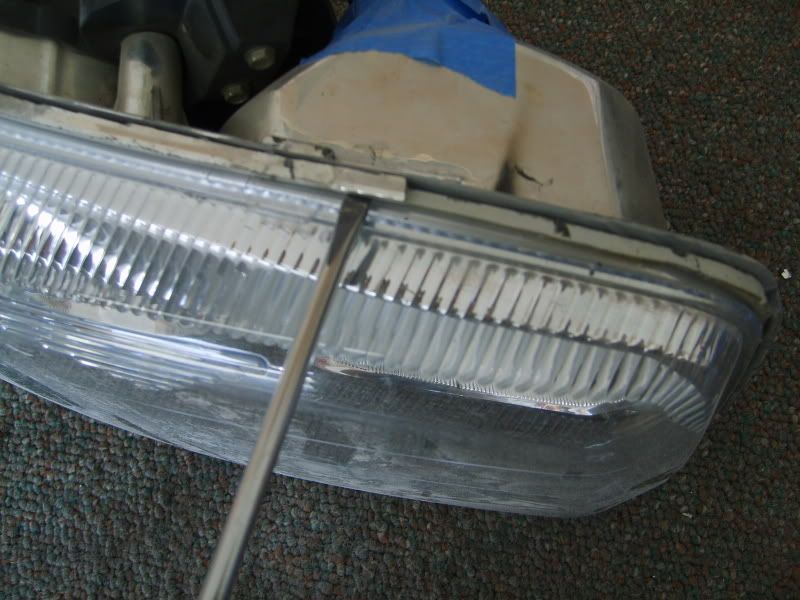
Now that the glue is good and hot, start prying the light apart with your tool of choice. I used a screwdriver and an exacto knife to cut the glue once I got a little space between the lense and housing. I found it was much easier to start on the end with the reflector.
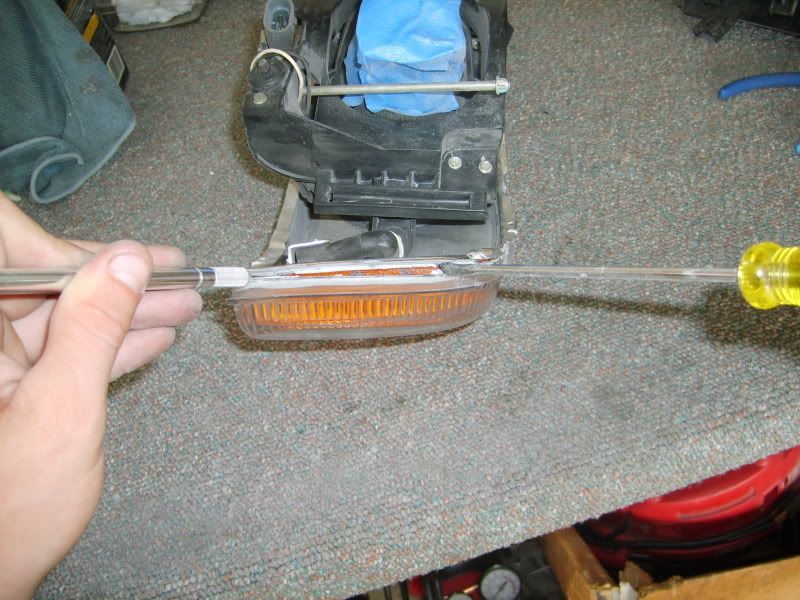
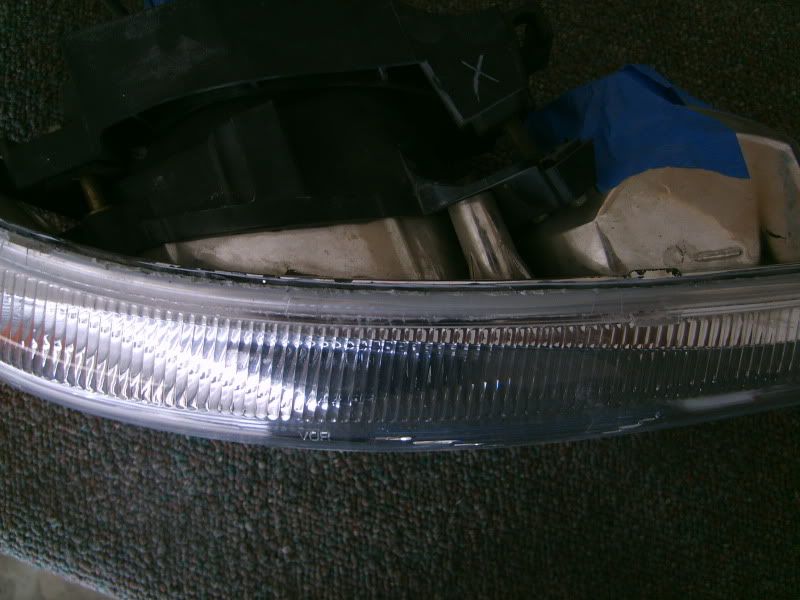
Keep heating, prying, and cutting until you work your way around the reflector side and down the top and bottom of the light. At this point you should be able to separate the lense from the housing.
The ugly amber reflector is glued to the lense and should just pop off with a firm pull.
Make sure you cut off all the excess glue from the lense and the housing before you reassemble them. I used clear Permatex RTV Silicone to seal the lights back up. You need clear for the Denali headlights since the backing is chrome rather than black like the Chevy lights.
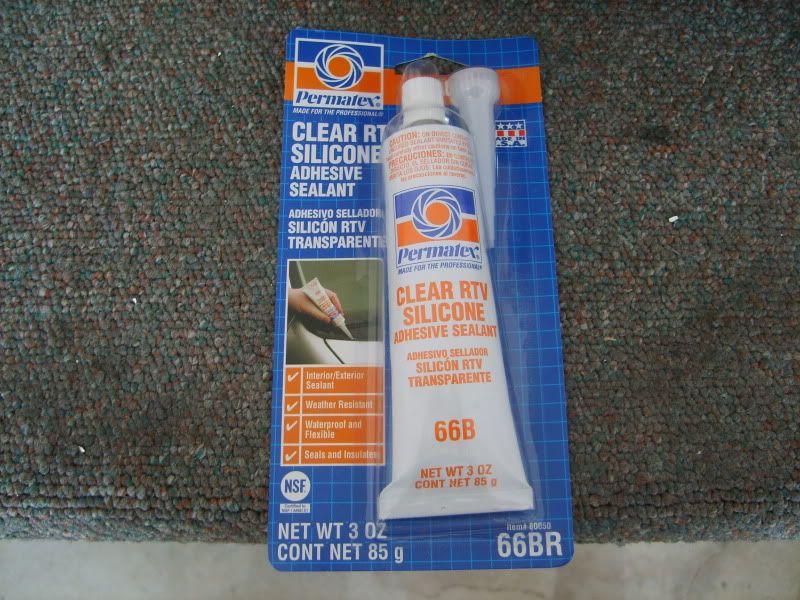
Make sure to wipe off any dust that may have gotten on the housing or inside of the lense with a clean microfiber towel before you put the light back together. Use plenty of silicone to seal the light up. I used a whole tube per light. Run a thick bead around the entire edge of the housing, then put the lense on. I ran another bead on the outside of the lense where it meets the housing to make sure it seals up completely.

Don't worry about the excess silicone on the outside of the light at this time. You can cut it off later after it dries. Put something heavy on the light and let it dry for 24 hours.
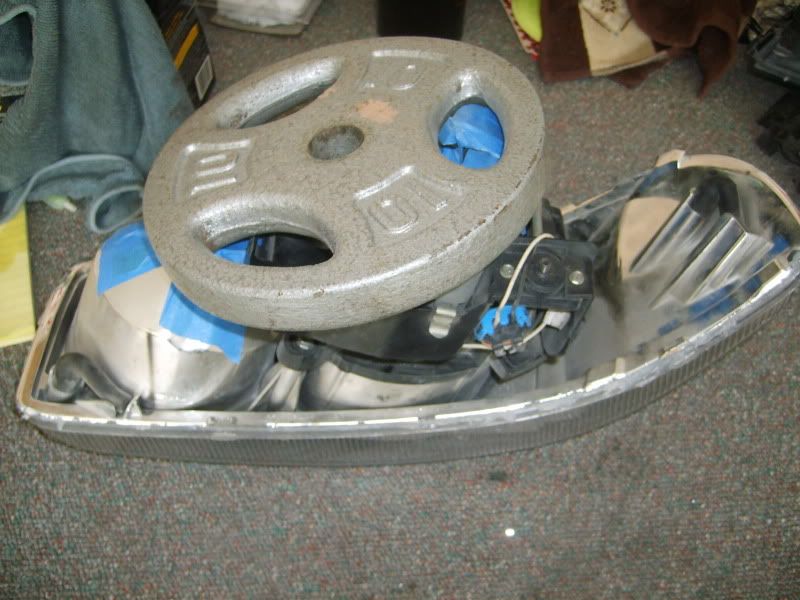
You now have cleared Denali headlights. Pat yourself on the back a drink your favorite beer of choice for completing this PITA project.
:bananadance: