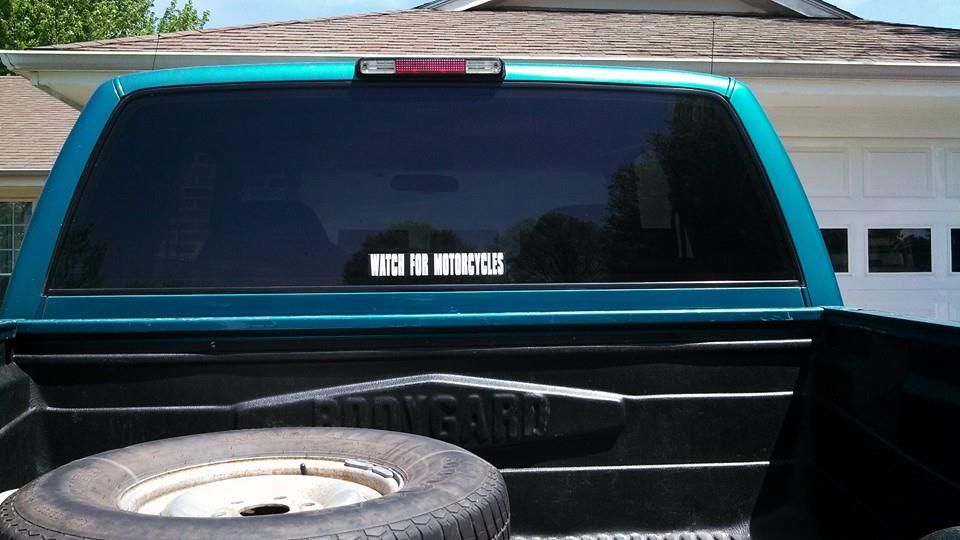
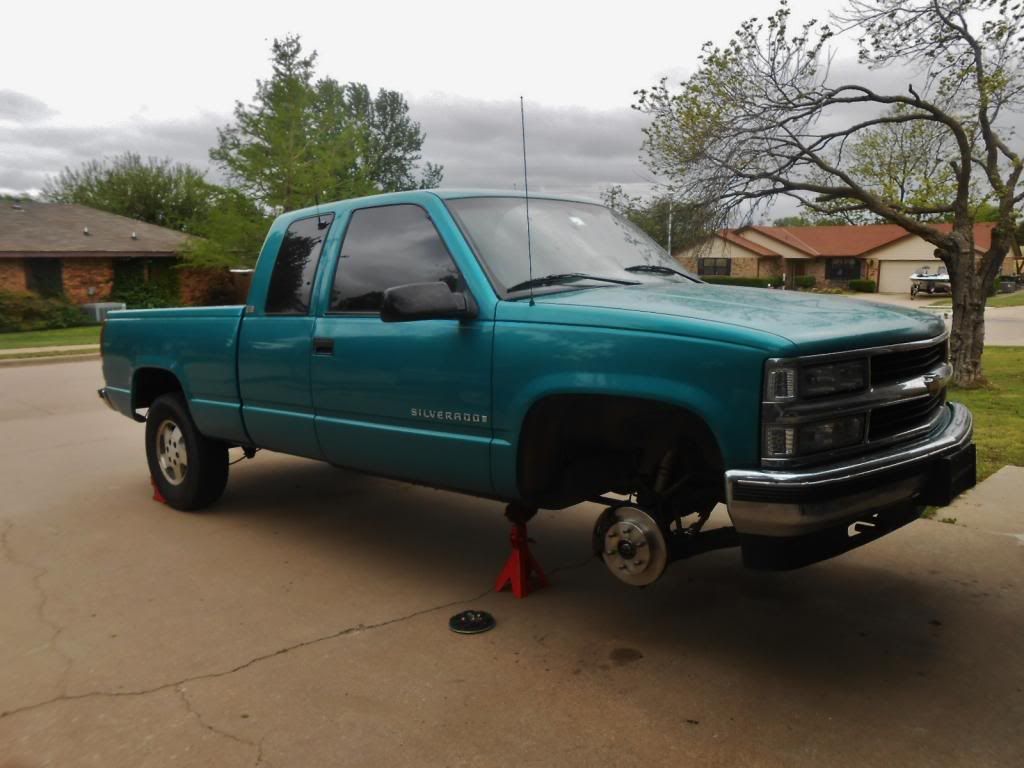
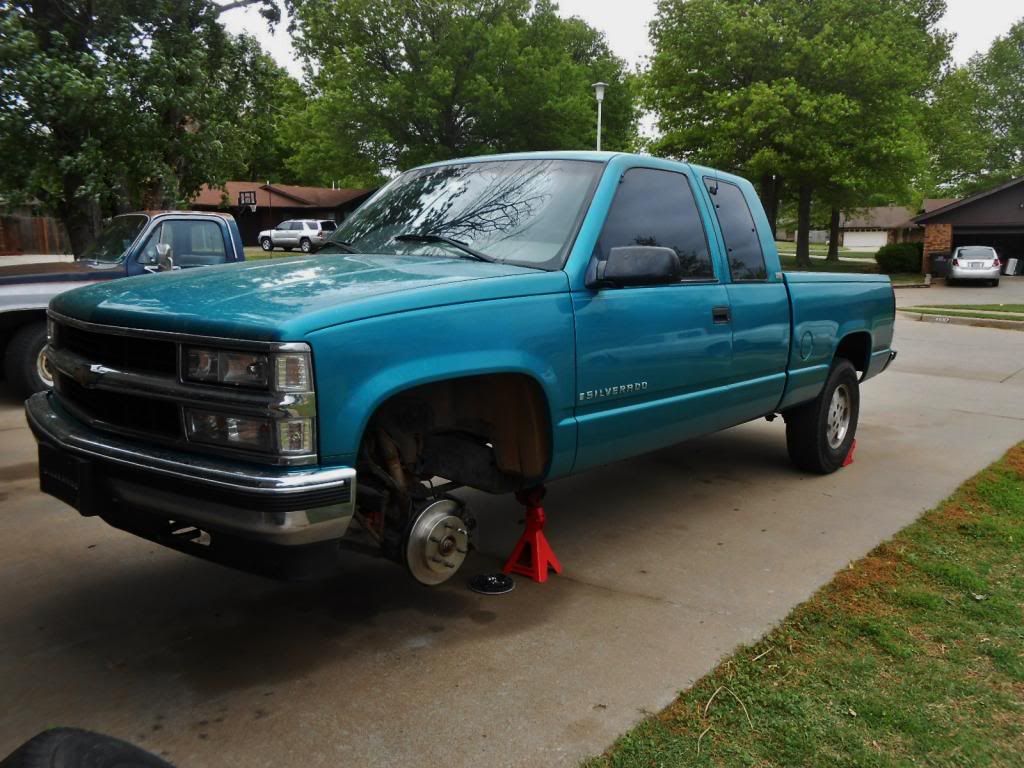
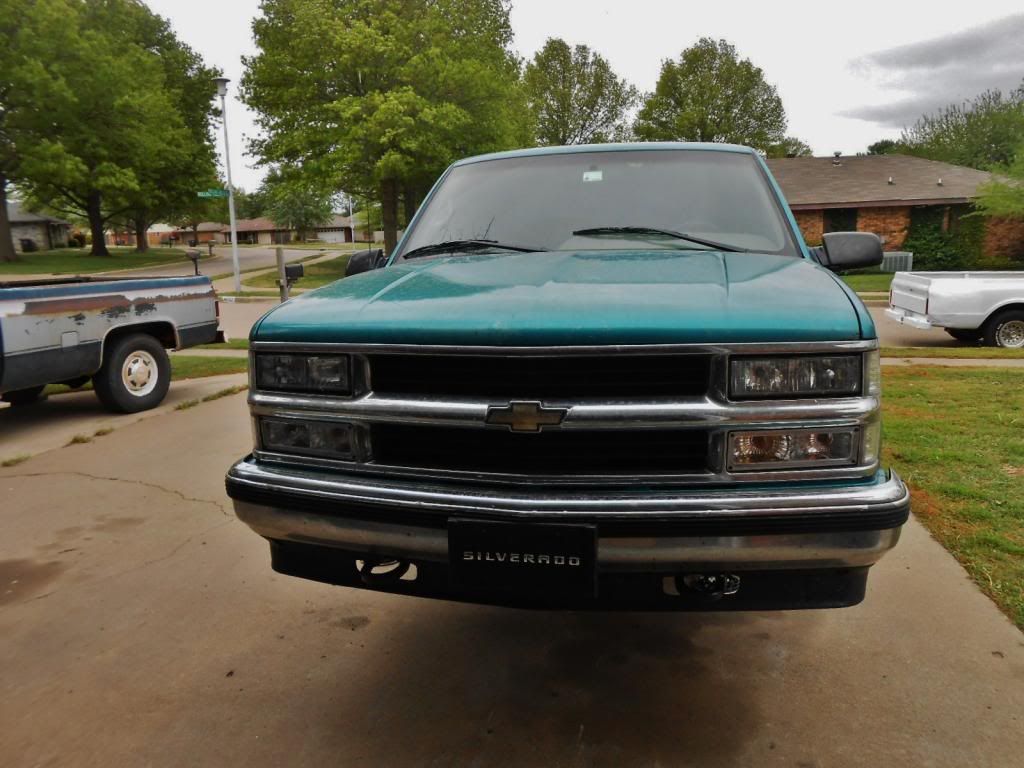
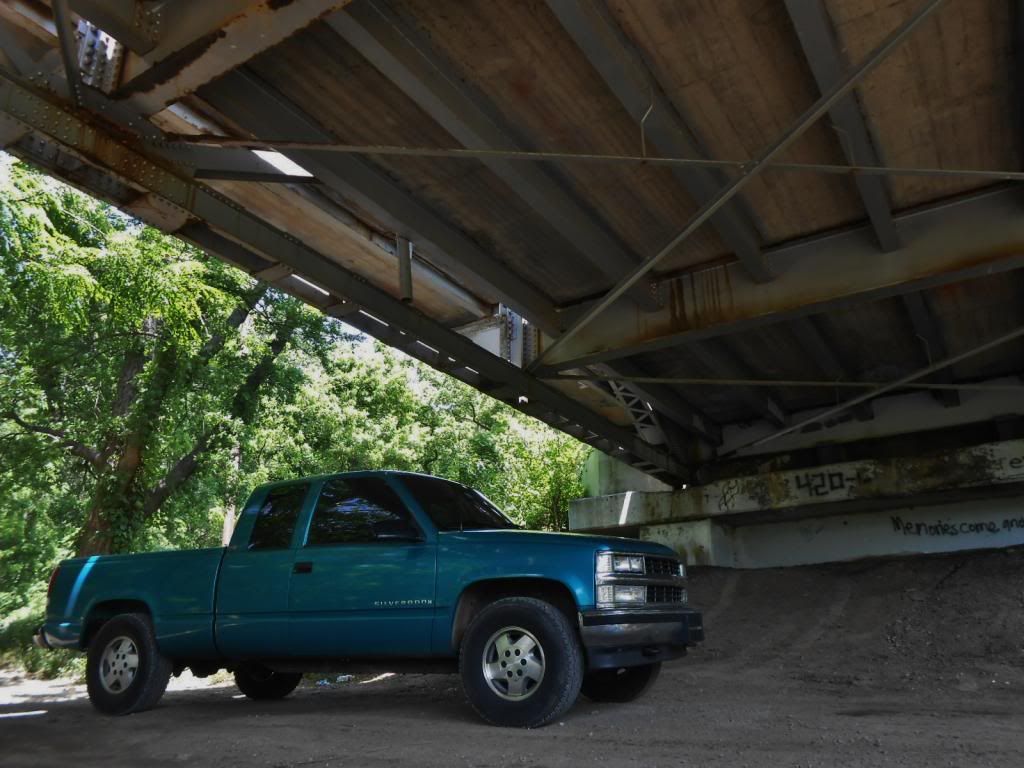
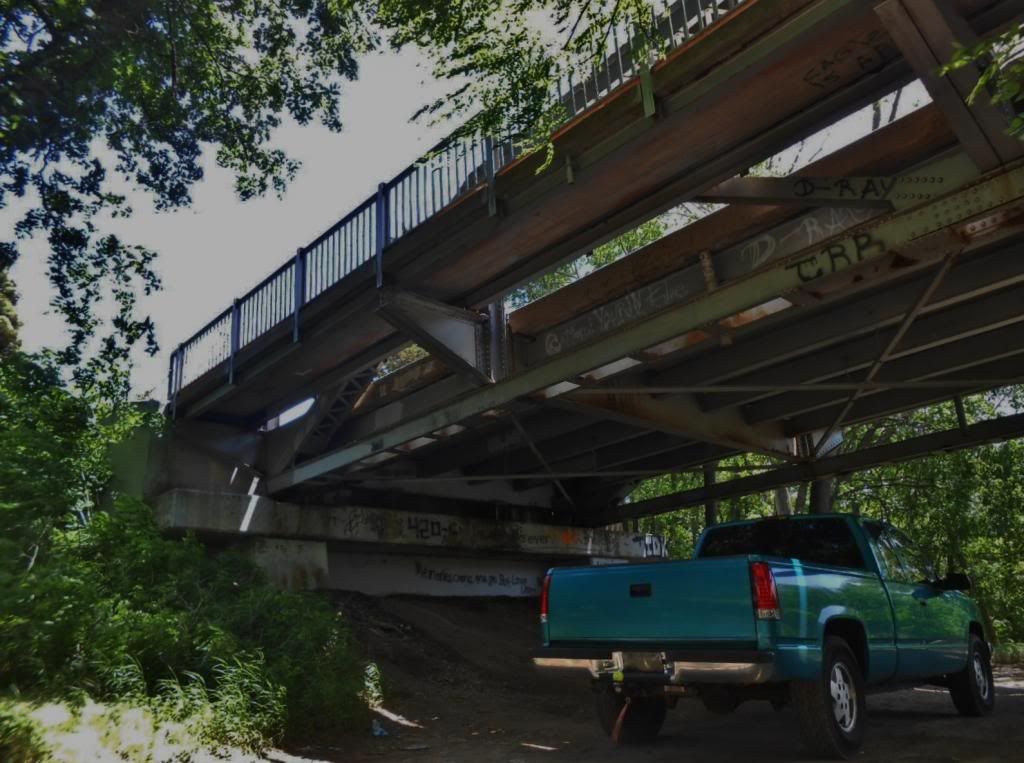
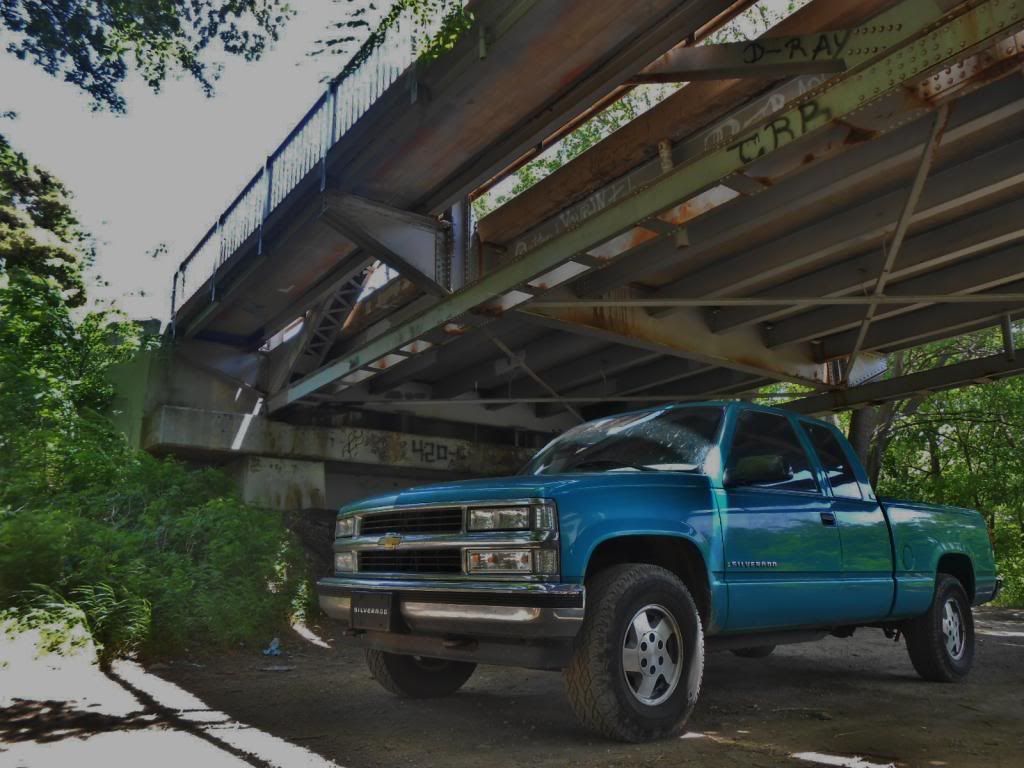
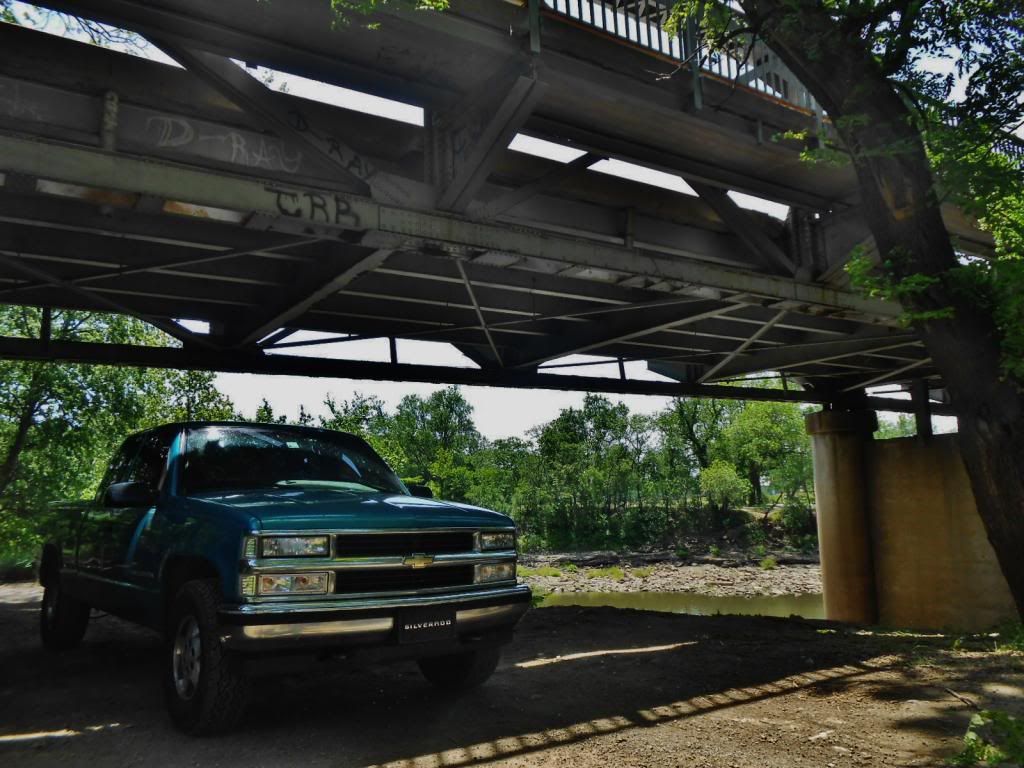
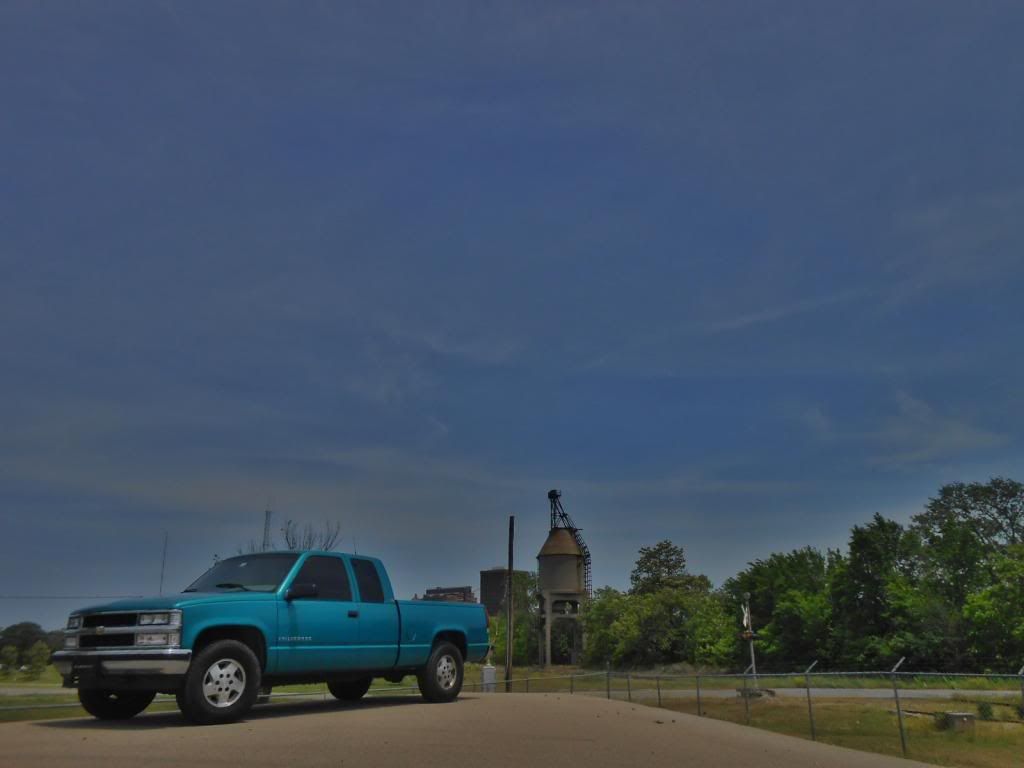
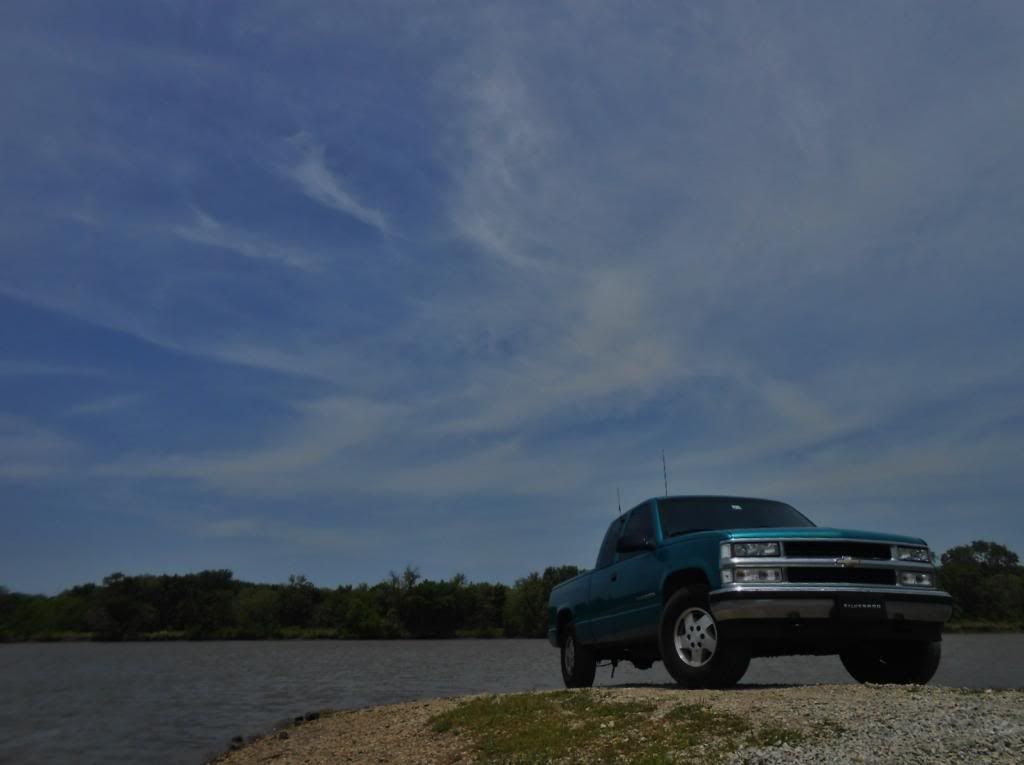
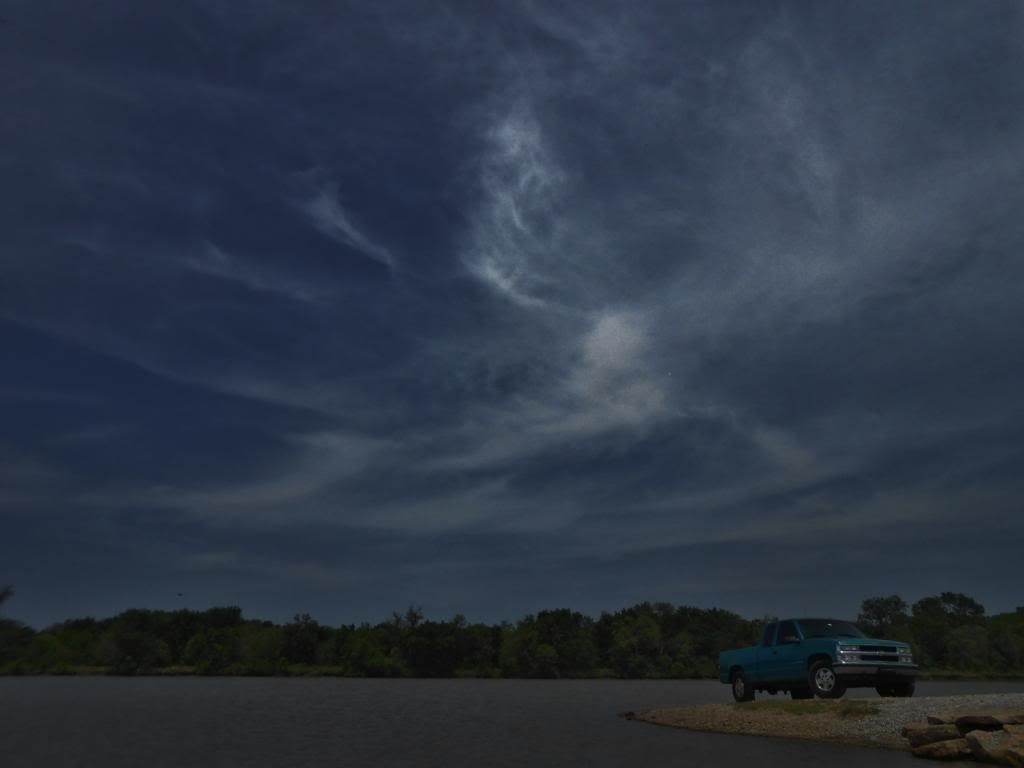
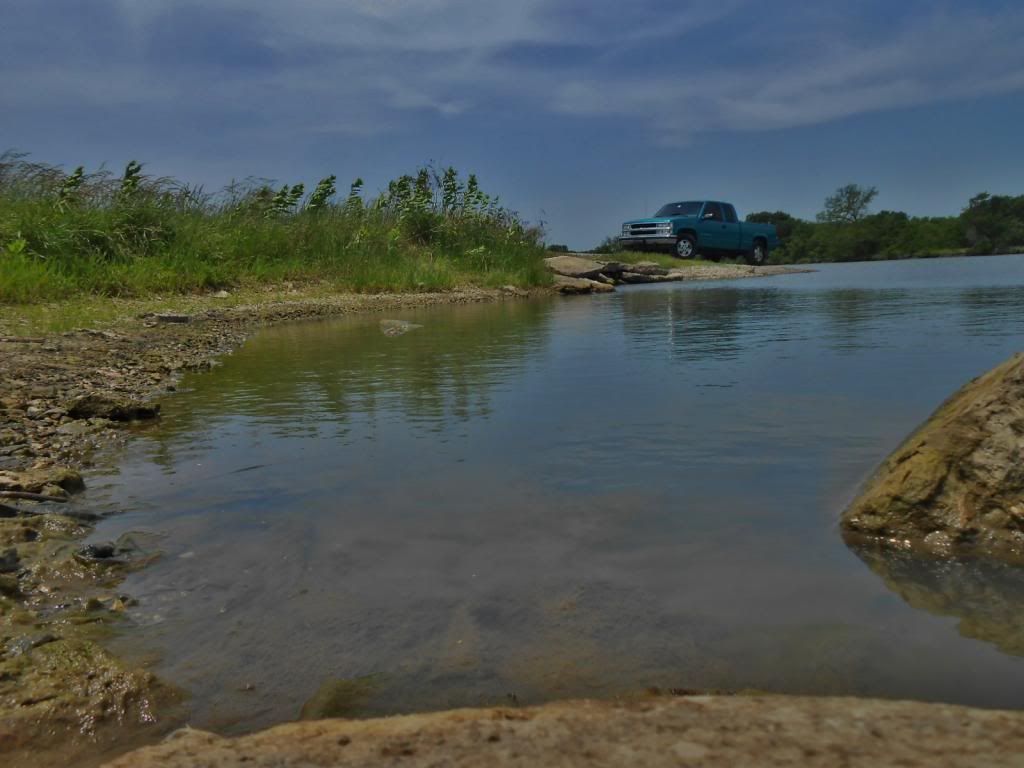
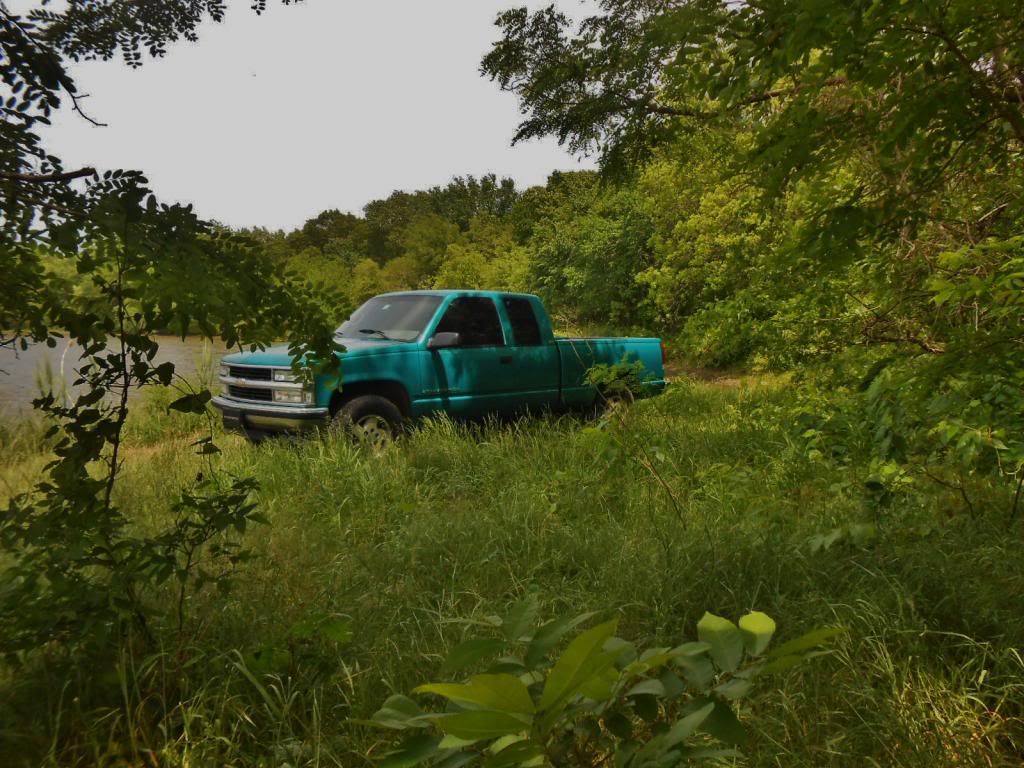
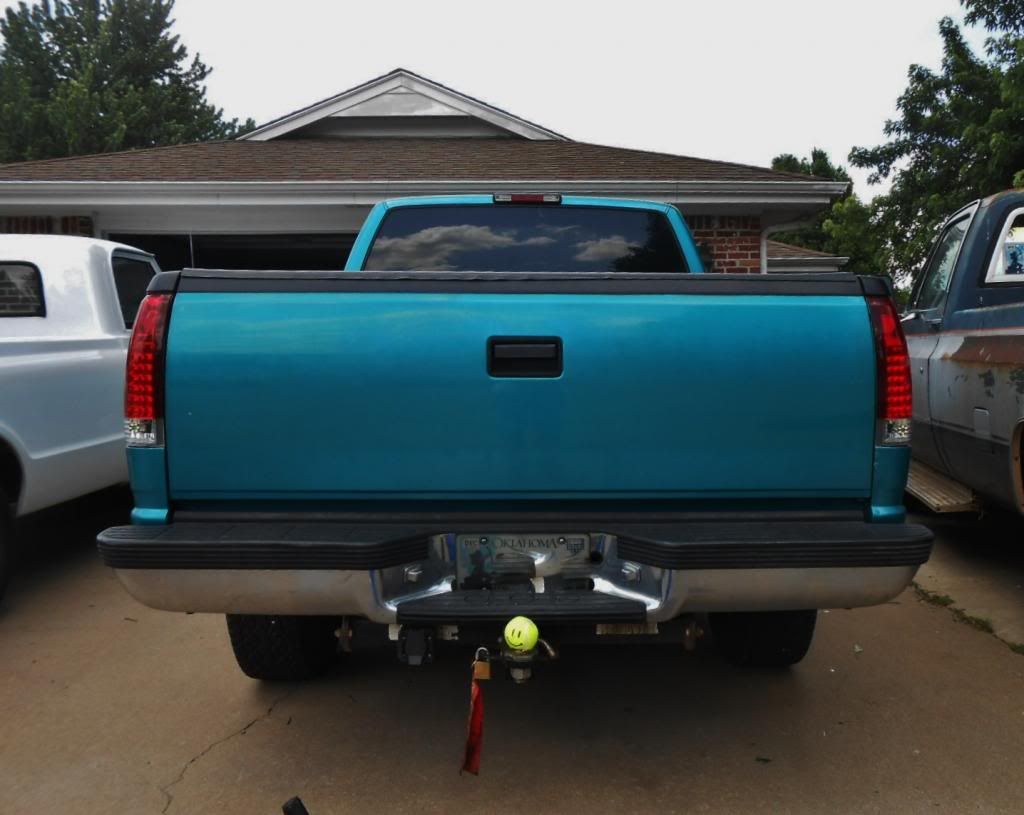
My 95 OBS

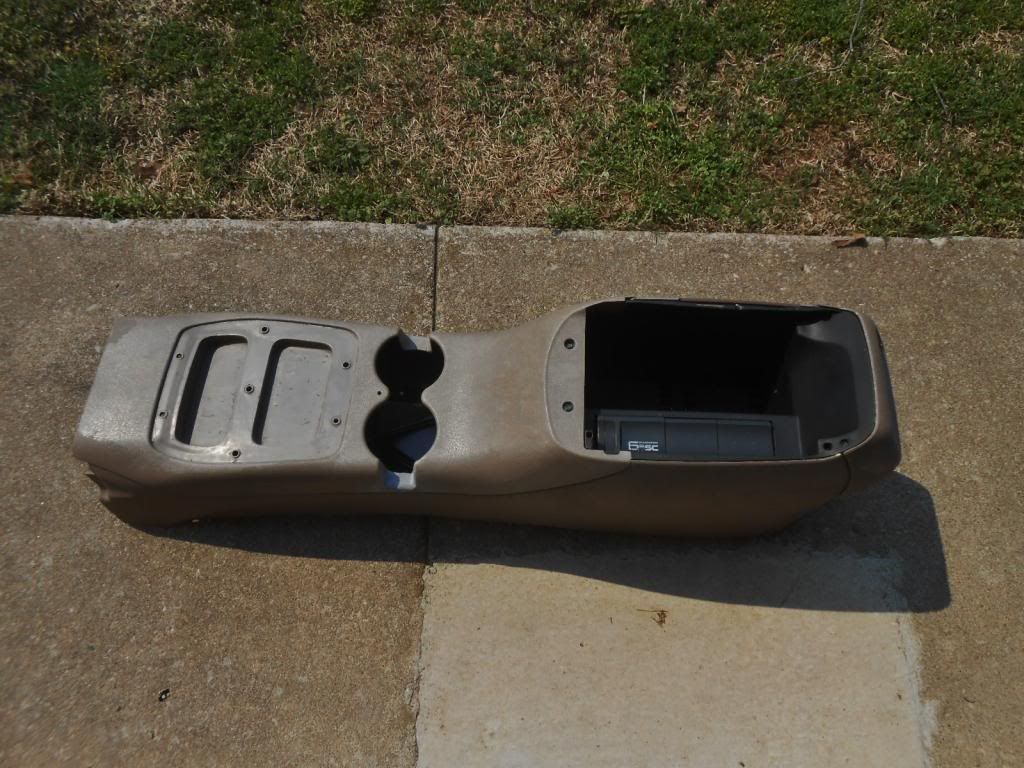
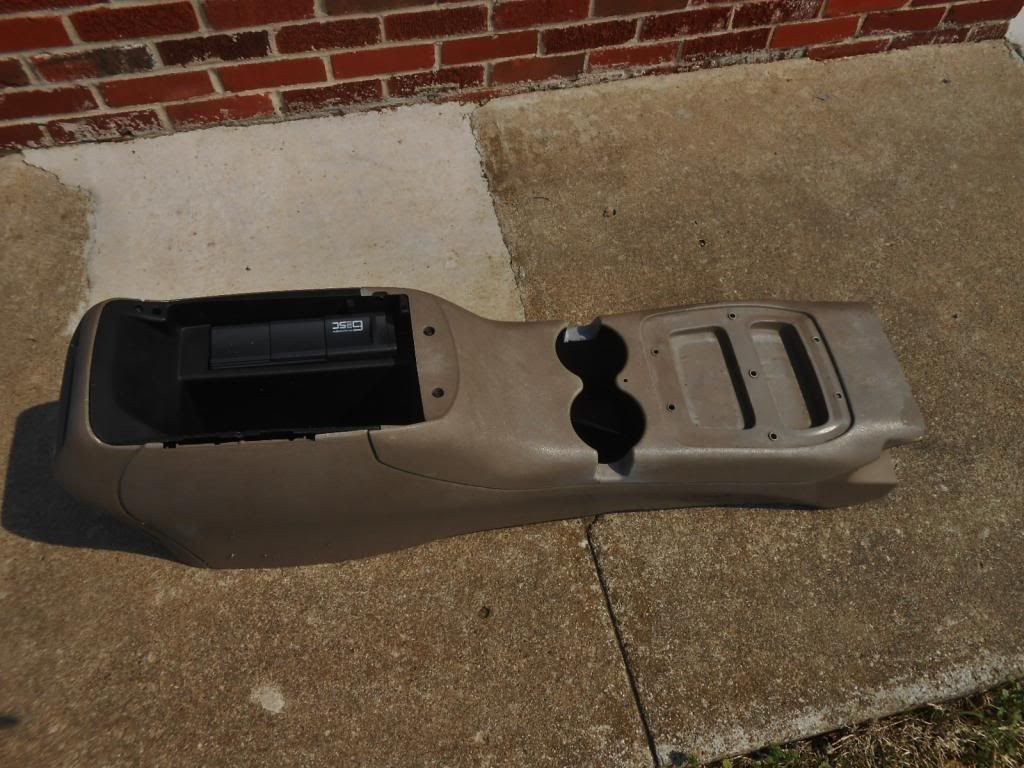
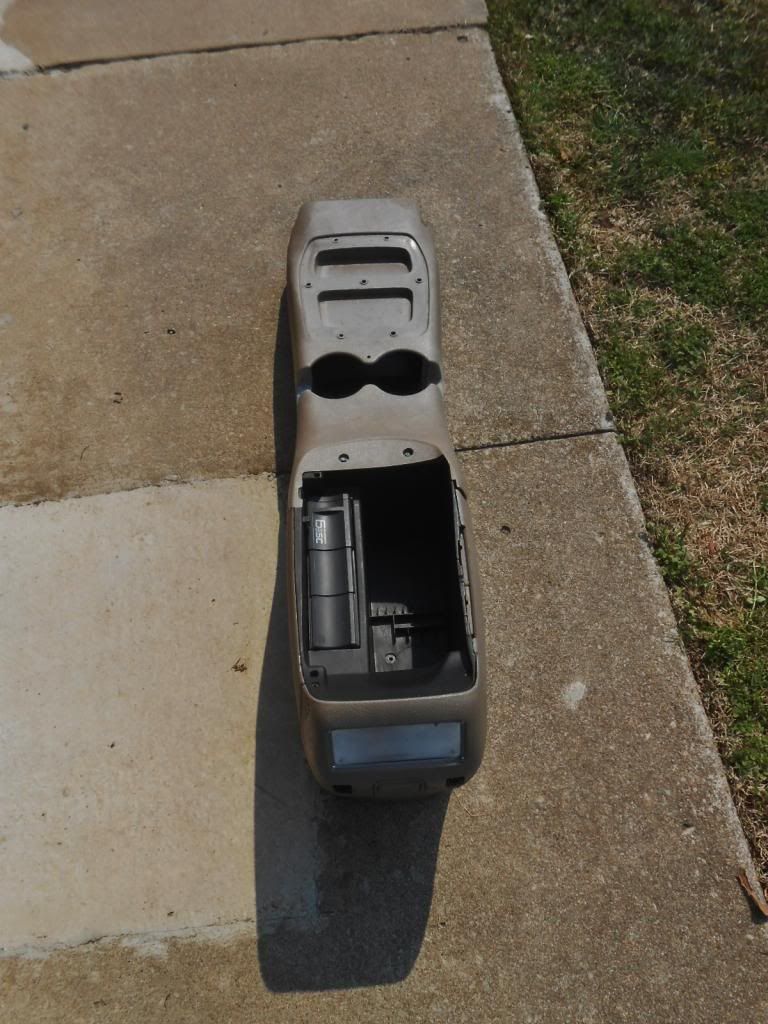
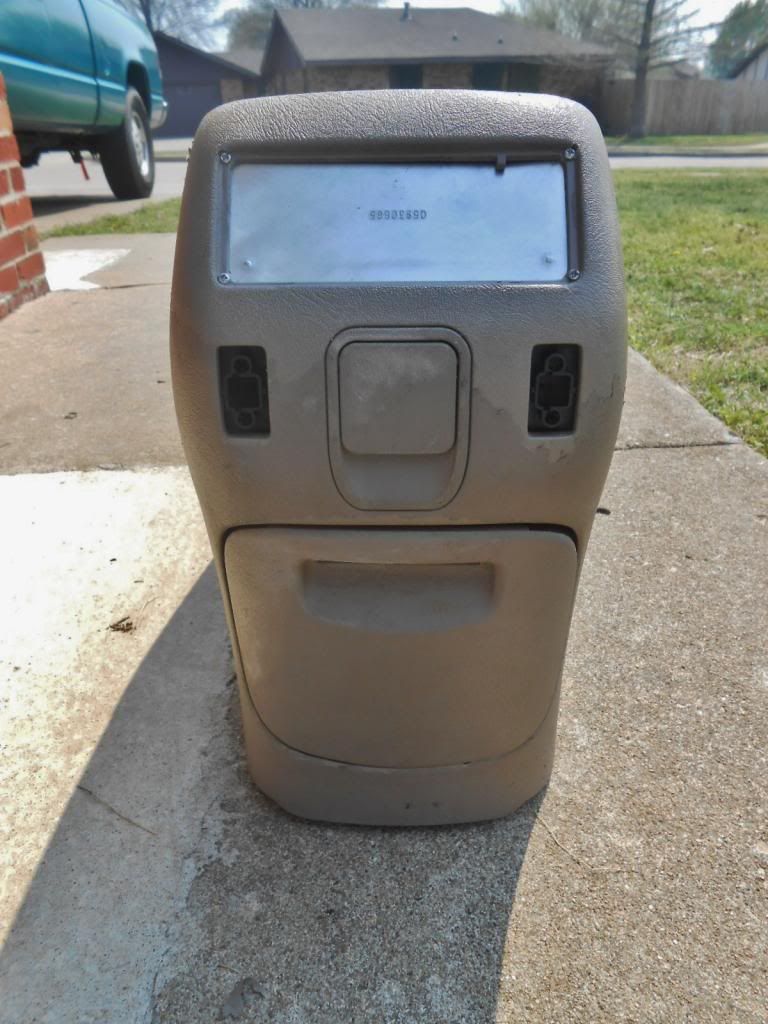
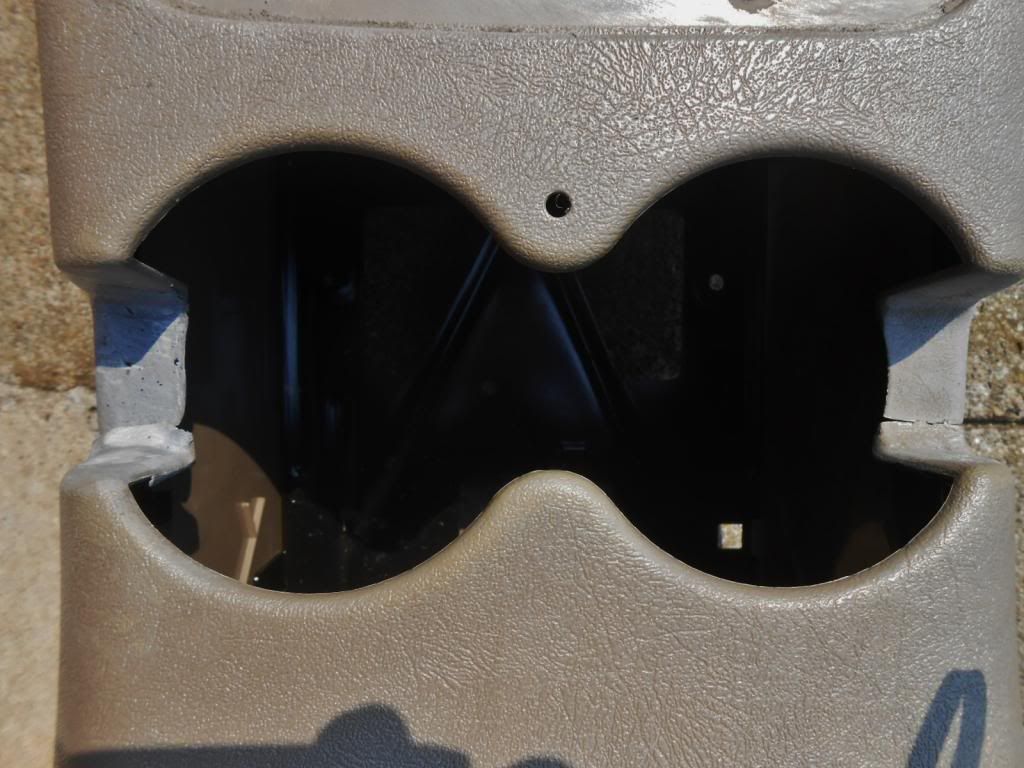
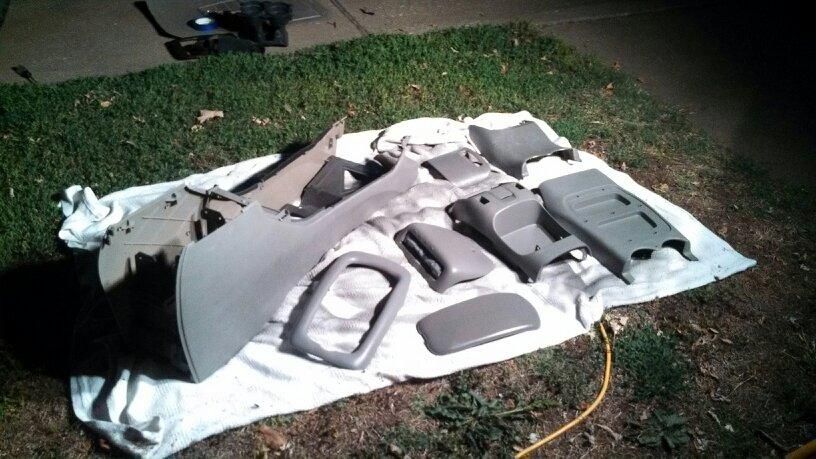
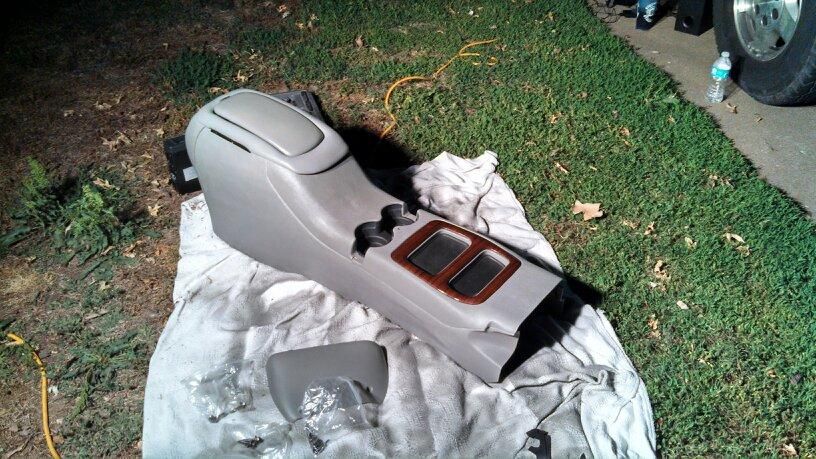
So there's a layer of paint/years of armor all and protectant on the console that's been a pain getting off, Went to local car wash and used the pressure washer there and it was stripping the layer off great! Didn't get to do the whole thing. Spent like 13 dollars and only got so far, I'm ready to be done with all the paint stripping and ready to just install it........Have to get another 4x4 trim piece bc the one i have broke. Time consuming

The layer of paint/protectants rubs off with a bit of pressing but I'd rather not have blisters all over my fingers


Probably will smooth over the plate and the ac switch openings as well as the aux plug opening and figure out some sort of hinge for the cupholder


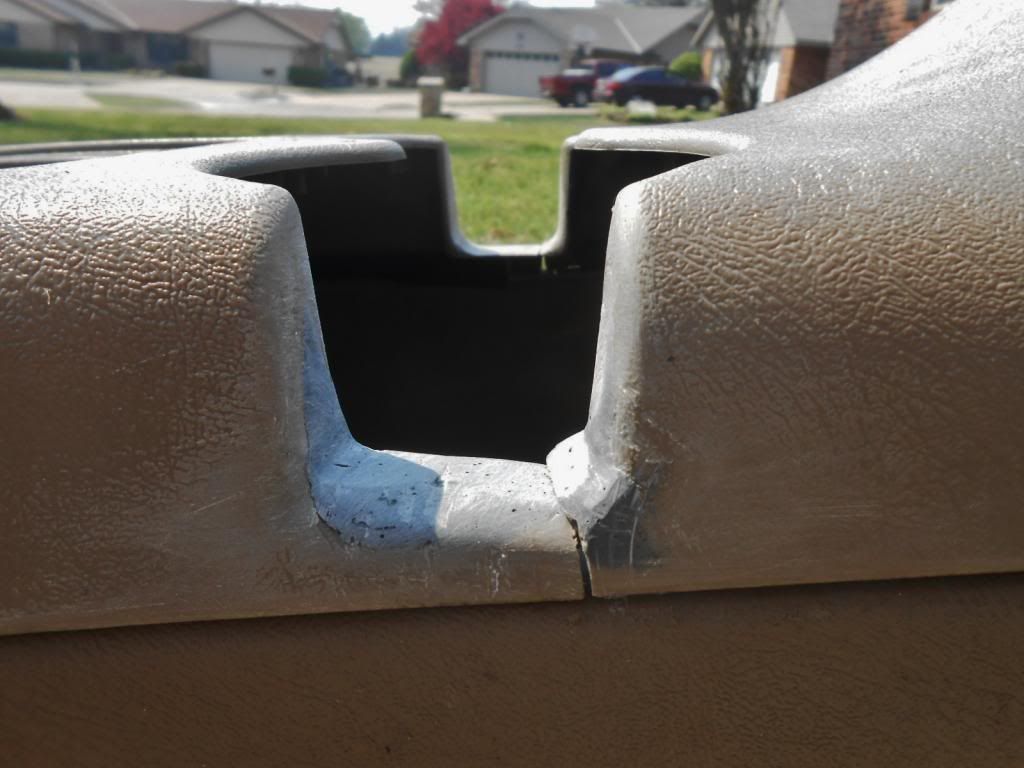
Top two pieces are broke, after i fully sand both sides back to plastic I may redo it so its one piece,


This side needs sanded back to plastic before I can even think about reepoxying them


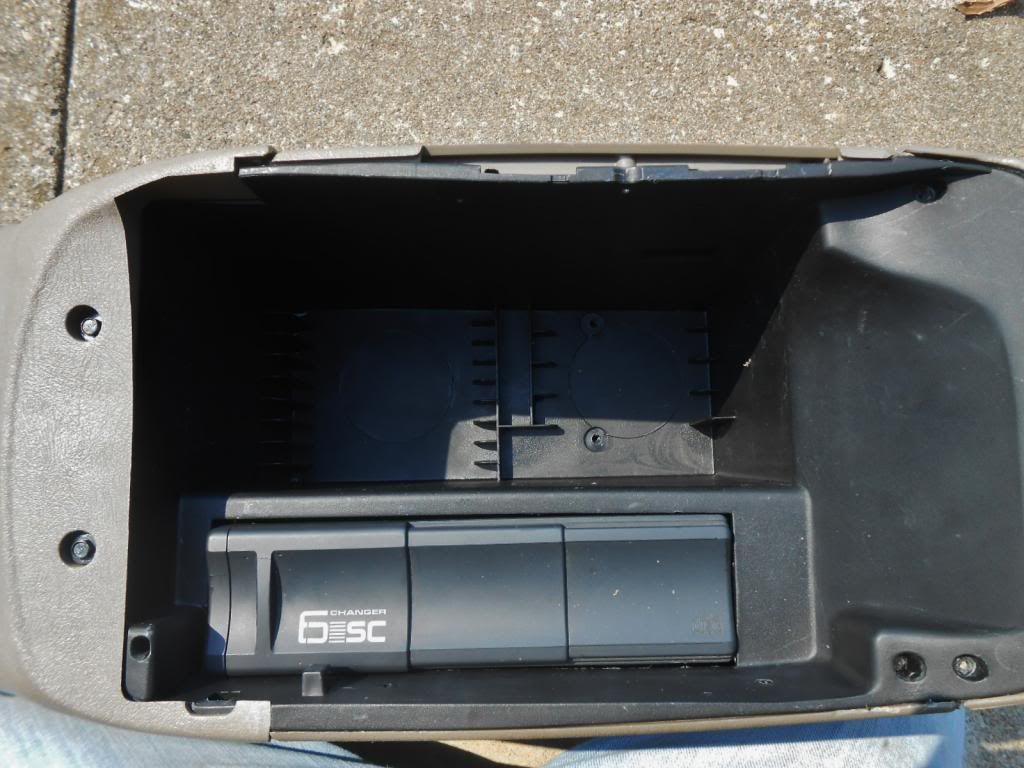
Reuse the cd changer?


Nahhhh just gut the insides and use it as a storage cubby


Need to go back to the carwash and spend a little more time trying to get the layer of crap off, rather have all that off before epoxying the holes and whatnot.....Still unsure if I should epoxy the holes bc they wouldnt have the same grain as the rest of the console unless I lightly carved lines in it afterward to match?

Any ideas?
 
i would go to home depot and but a pressure washer, long term it will be cheaper and you can use it to clean the underside, wheels and tires, etc.
 
i would go to home depot and but a pressure washer, long term it will be cheaper and you can use it to clean the underside, wheels and tires, etc.

Think my dad is supposed to get one so we can strip the paint off a storage building at the house were renting, even though i went to the carwash and did as much as a could, the rest i can tough i t out rubbing it off. Only have the rear cupholder face and a few spots on the sides (not even alot)

Guess I'm going to cover the holes in the back already got it prepped a bit but I'll have to figure a way to make some lines on the smooth parts after I'm done so there aren't random smooth spots on the back
 
Long overdue update, Pics aren't in a specific order but heres what ive got,

Major update, truck has a new transmission, due to me losing 3rd and OD. I was down in the city to take our family dog to the vet and help a buddy with his brakes, dropped the dog off at my grandparents and got on the turnpike and pulled over to tweak my mirror bc it had folded in on me and get back in to merge back onto the turnpike and she wont shift out of 2nd, gets up there then she just acted as she was in neutral. Limped it about 8 miles at 30mph to my trusted auto mechanics shop, dropped it off on a thursday afternoon, got it back the next day! (Good relationship with the mechanic makes work get done, even though his lot was overfull, he got it done. (I Drive specifically 2 hours just to that shop)


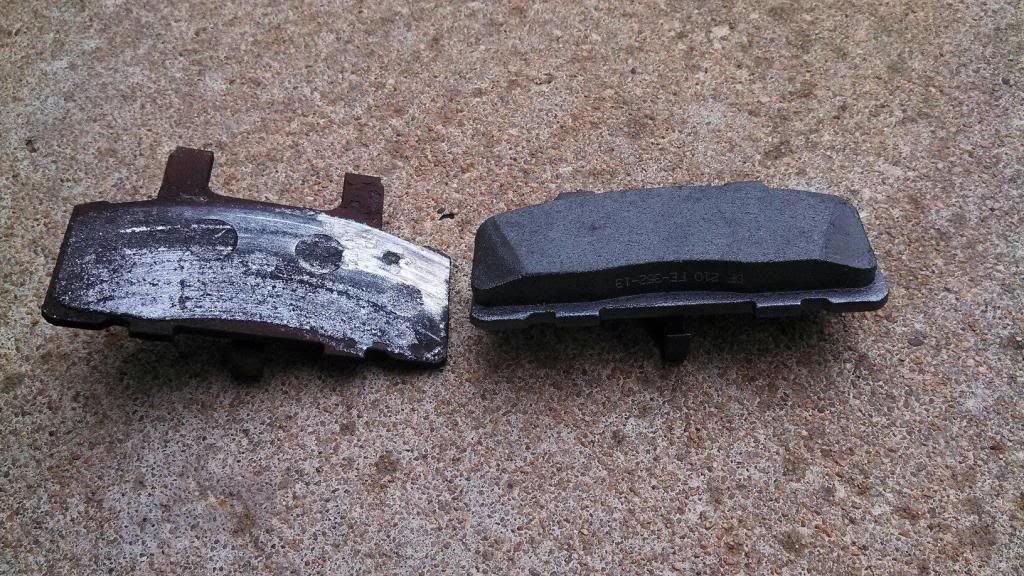
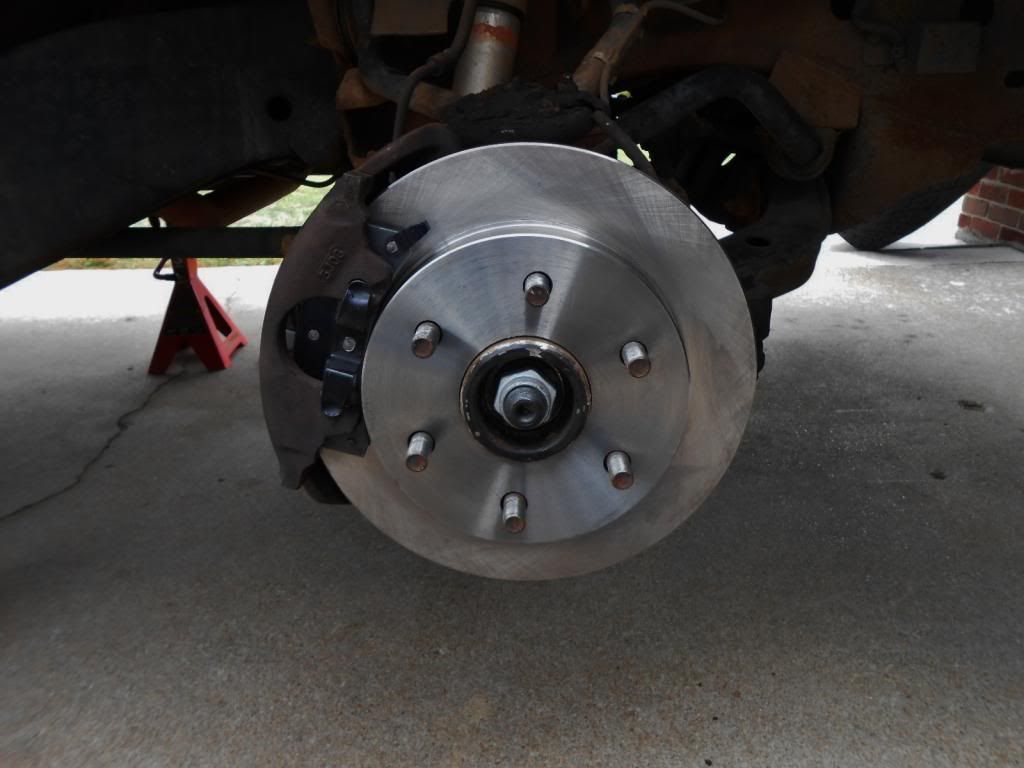
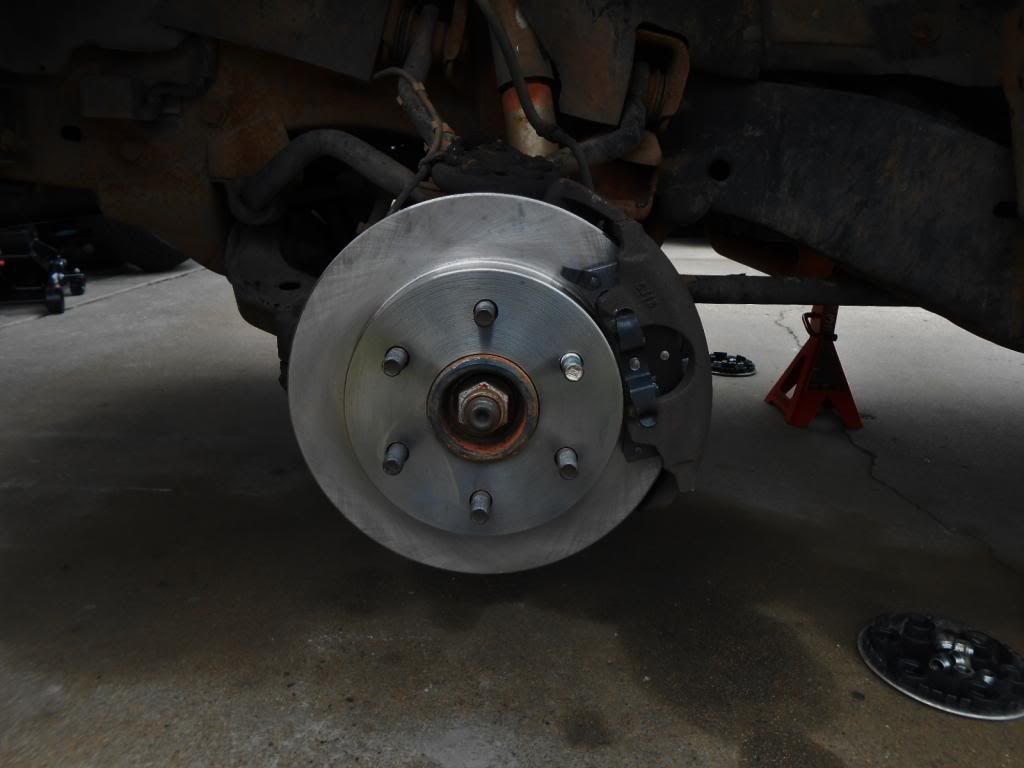
Front Brakes NEEDED replaced BAD


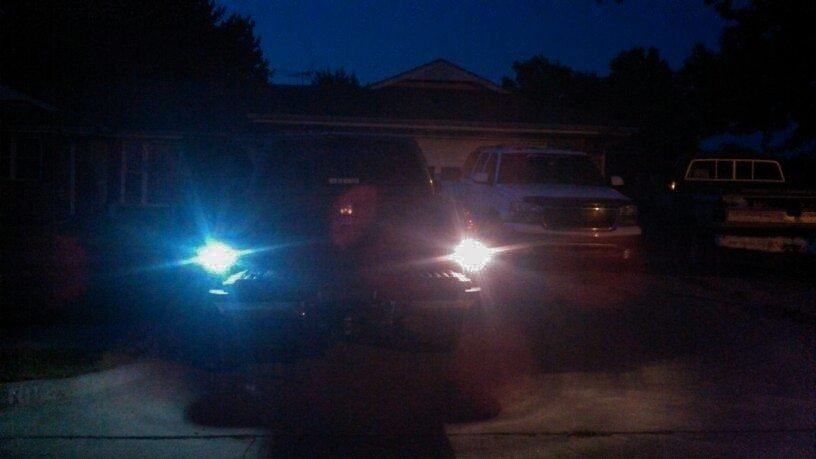
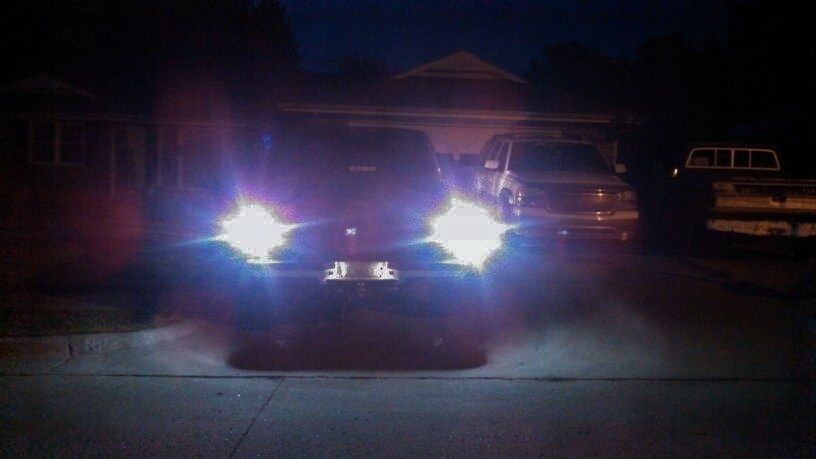
Got Reverse LEDs (They really aren't blue as it shows)


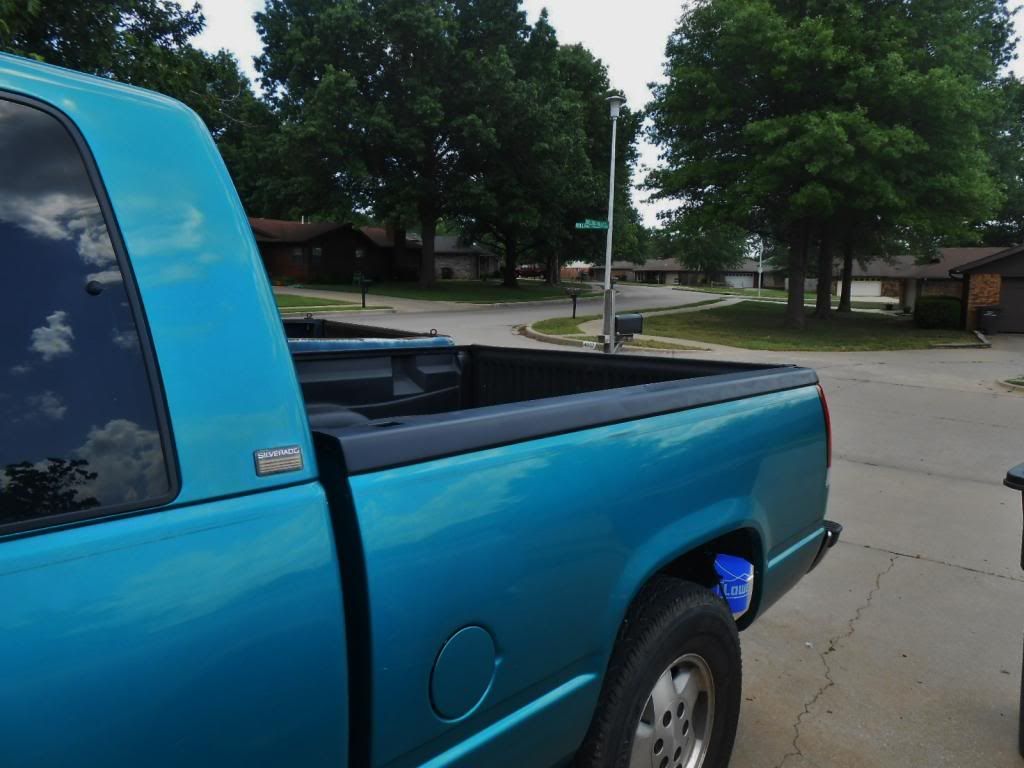
Snapped some pics


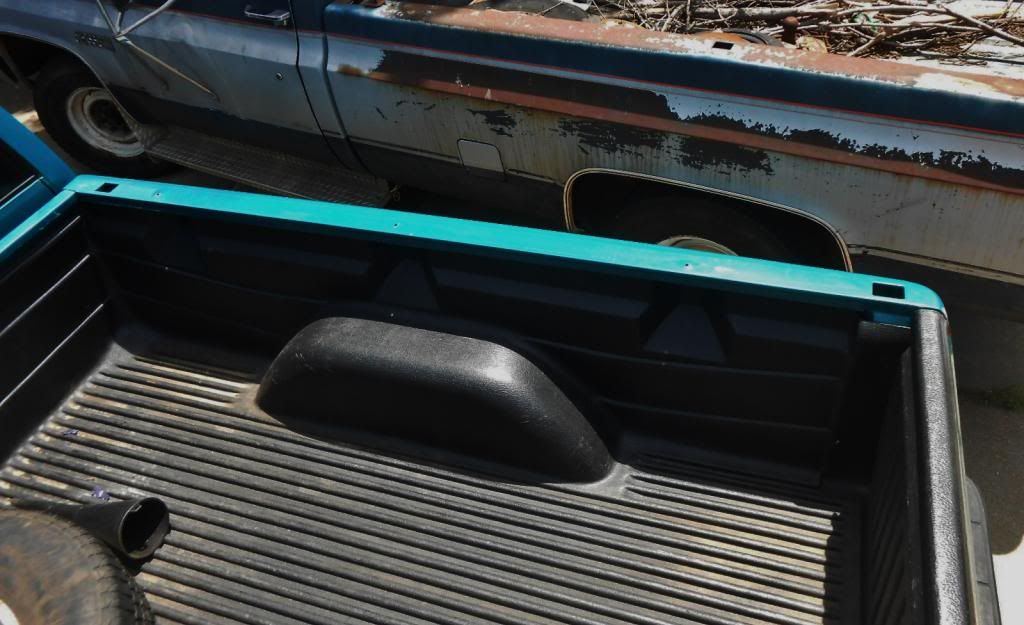
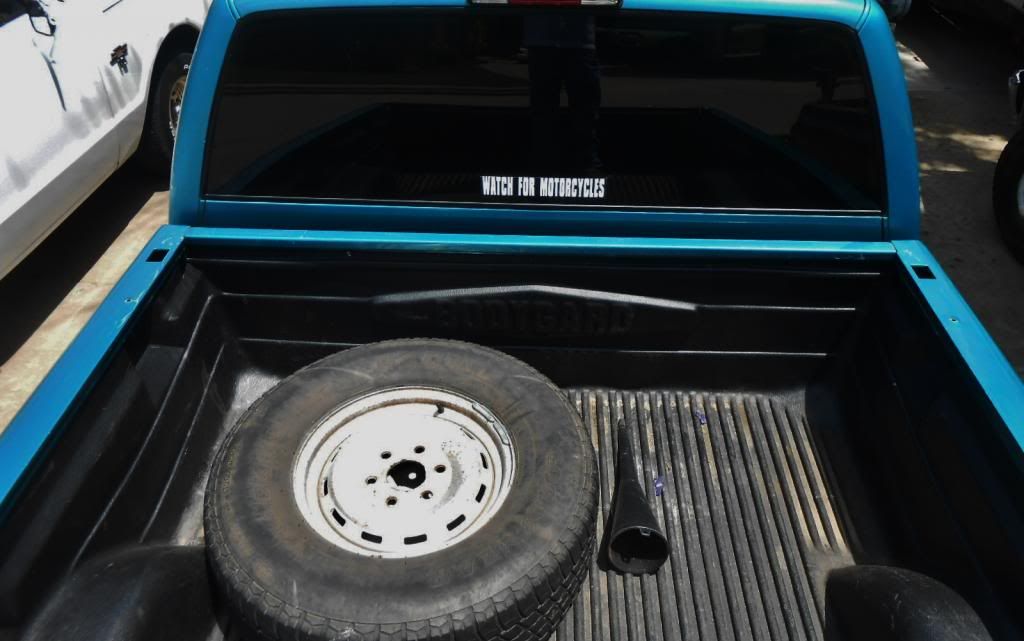
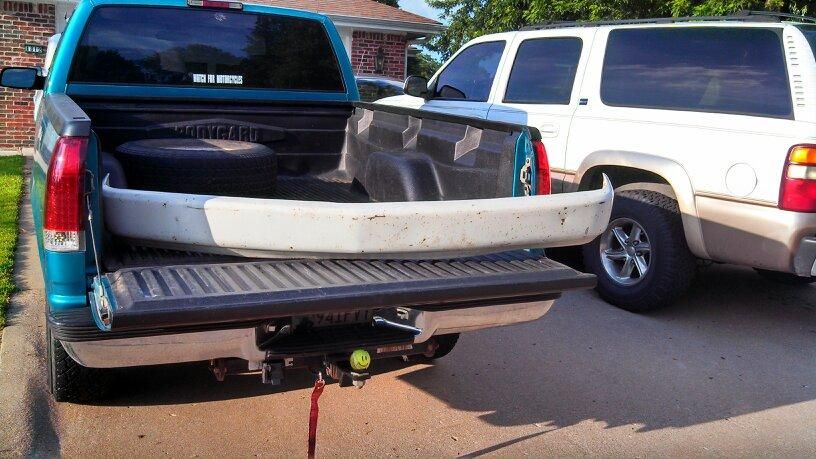
Needed to cover up the scratches the camper shell made so this is temporary
Before


After


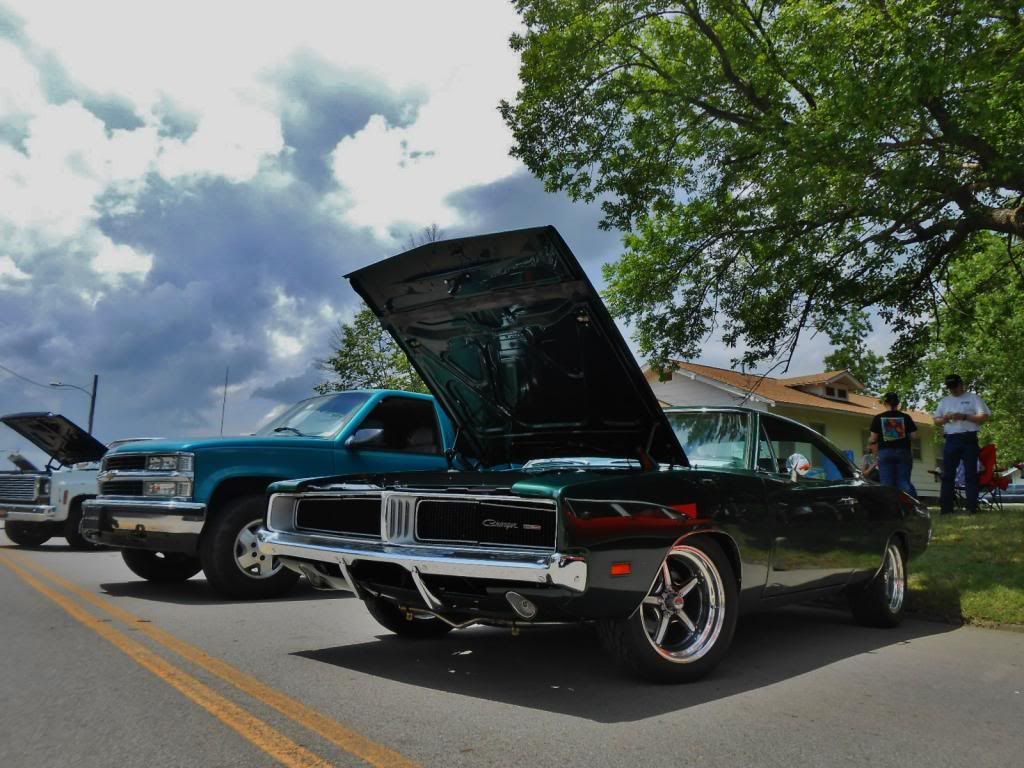
Took it to a local car show this past weekend (Didn't win anything other then $20 as a door prize, no entry fee so it basically paid my gas)
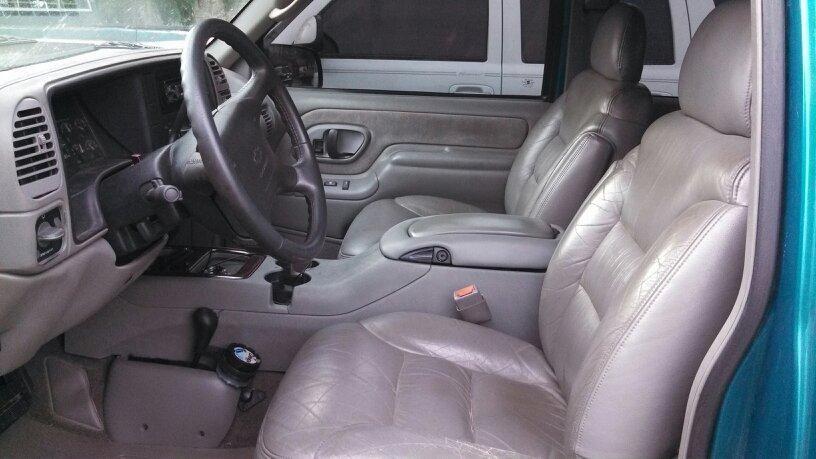
Wanted it done before the show, stayed up til 2:15AM saturday morning to get it installed, thanks to the help of my sister


Really like the way the woodgrain pops on the grey


Show shot


My dad's 69 charger (Won Best pre 85 Mopar of show) 1st trophy ever


Here is what i picked up on the memorial day salvage yard half price weekend
Quad beam lights


Pretty straight Smoothie, has a ding or two


Truck looks good man, I like what you did with the bed rails. Whatcha gonna do with the quad headlights? Hope you're not swapping your headlights for those...
 
Truck looks good man, I like what you did with the bed rails. Whatcha gonna do with the quad headlights? Hope you're not swapping your headlights for those...

Thanks man! I wasn't sure who all would be fans of the bed rails (just plastidip) but I couldnt stand the dang scrathes and crap. I Thought about swapping them, (its a different look) the TYC's I have dont align for shit and i have to have some rednecked tapped up washers tied to the grill so the lights dont sit in there angled and cockeyed. With the quad beams there a writeup on installing them and using the same bulbs i have instead of having to not cut the connector and rewire em.
 
Yeah, the plasti makes it look like the 07 bedrail caps, I like it. Just personally, I've always hated the quad headlight look plus I would imagine output isn't as good either. I know that's a real common problem with OBSs, making aftermarket lights fit good but I'd try to find a different set first.
 
Yeah, the plasti makes it look like the 07 bedrail caps, I like it. Just personally, I've always hated the quad headlight look plus I would imagine output isn't as good either. I know that's a real common problem with OBSs, making aftermarket lights fit good but I'd try to find a different set first.

Man, I had really good luck with the real glass headlights but they didnt have glarecaps so if i installed HIDs it would blind the hell out of people, ive read that the LMC replacements for the sealed beams let you use the bulbs from a composite light and itd just be mount and swap, I'm not for sure on if its true. I liked the glass lights i had but sold em to get the TYC lights (bc they have a huge rep on being the best on these trucks) well they are good and nice but the adjusters dont work and they are cockeyed as Fawk
 
Looking good man, that plastidip turned out great. Had me fooled for a second thinking they were real bedrails. Nice score on the bumper too
 
Top