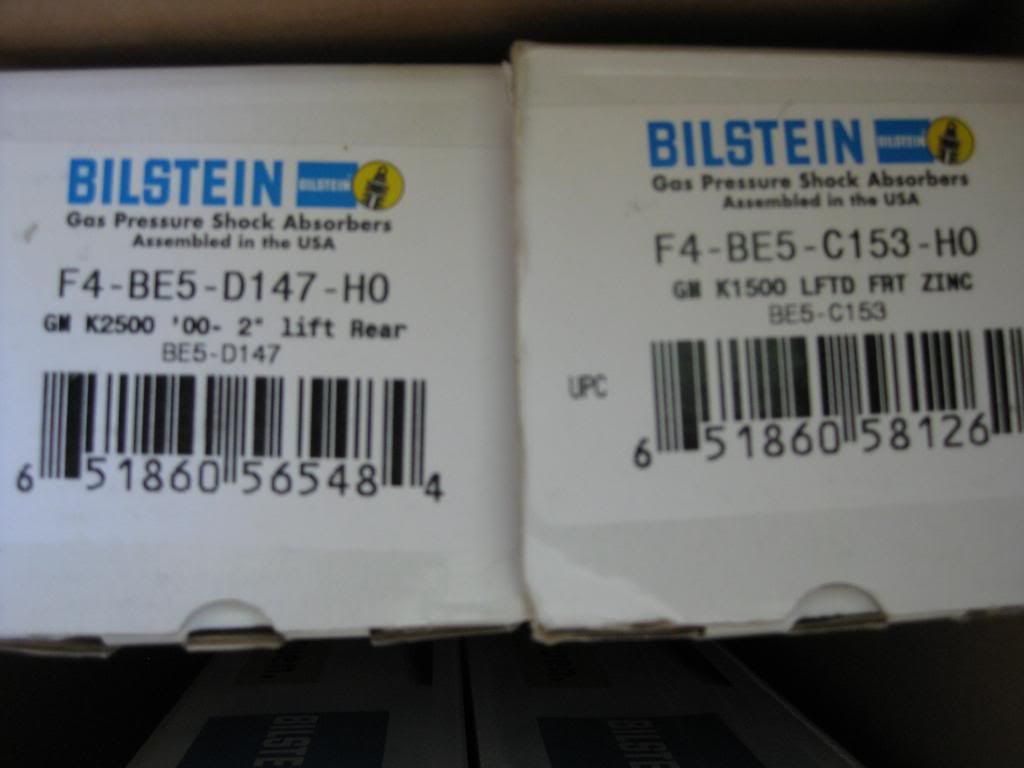
I chose to level my 1/2 ton NBS 4x4 with Ford Keys and Bilstein shocks. I had to have it driveable during the week, able to tow properly and go to the camp with ease.
First, I'll cover installing the torsion bar keys.
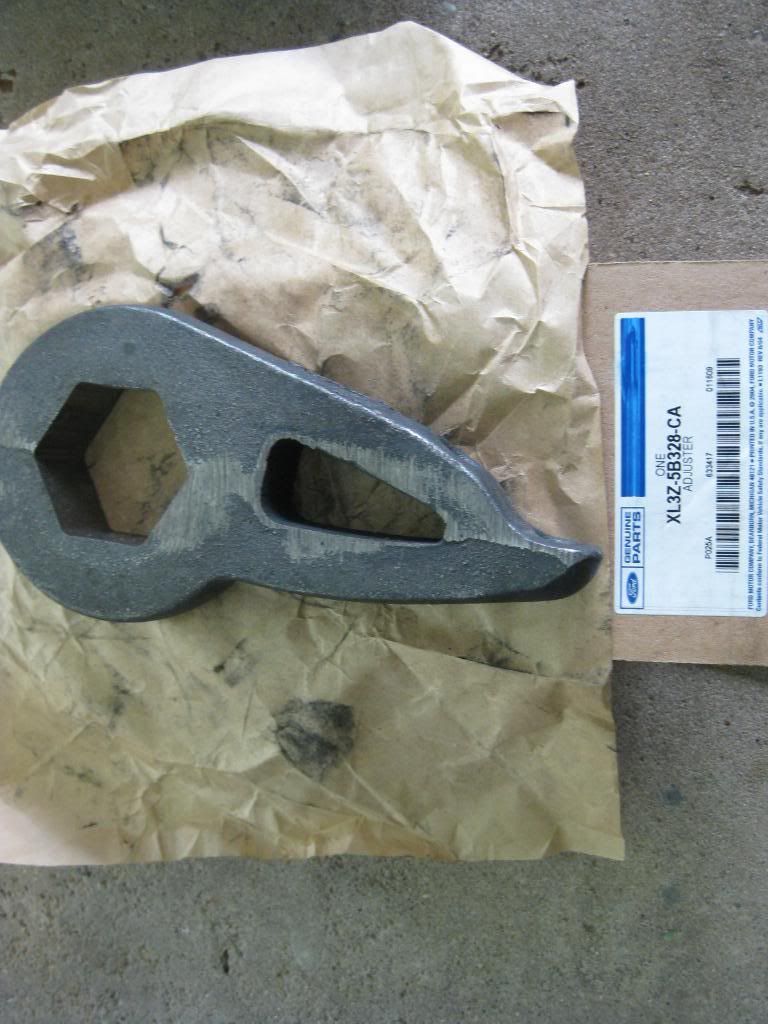
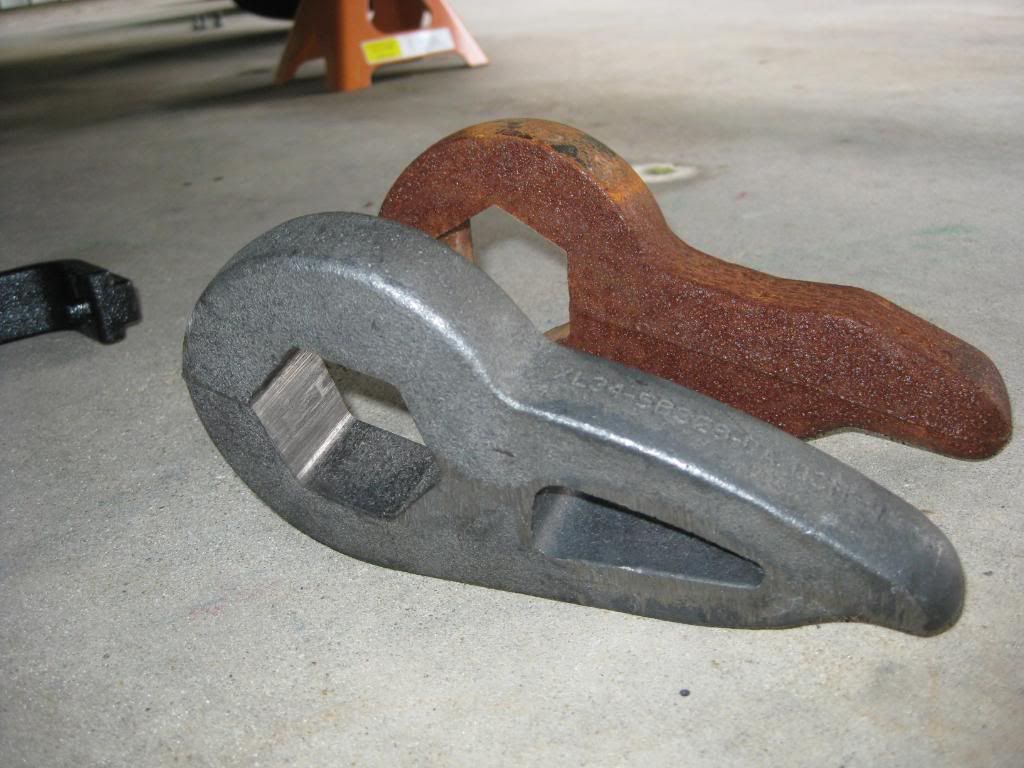
You'll need a set of Ford keys
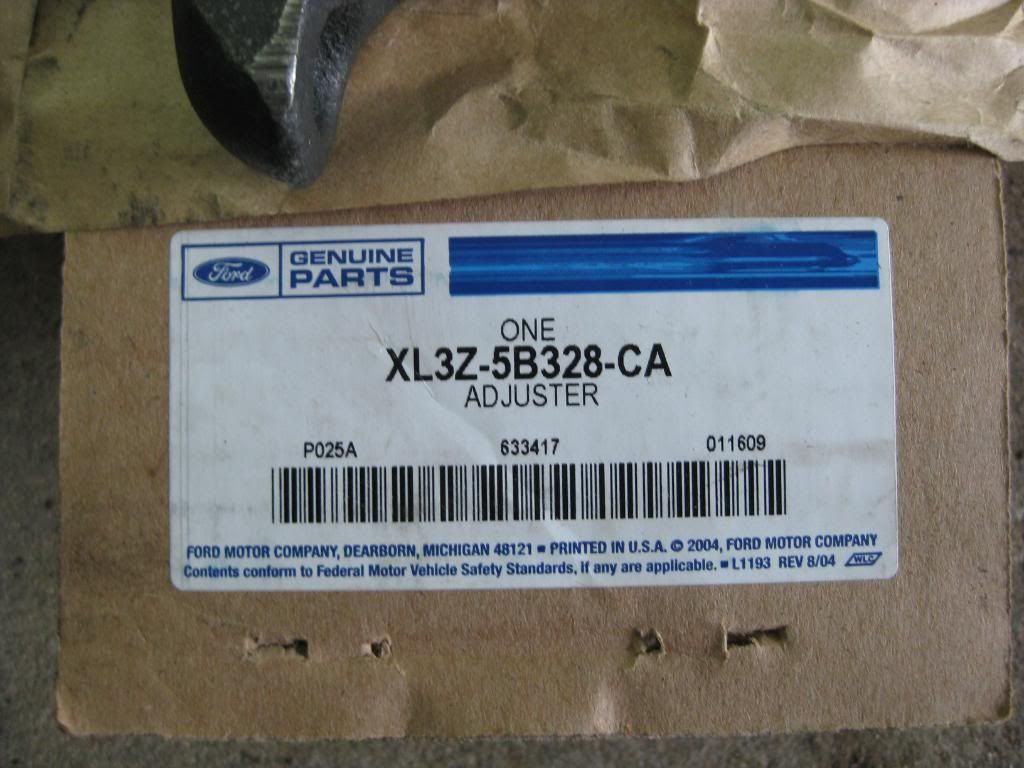
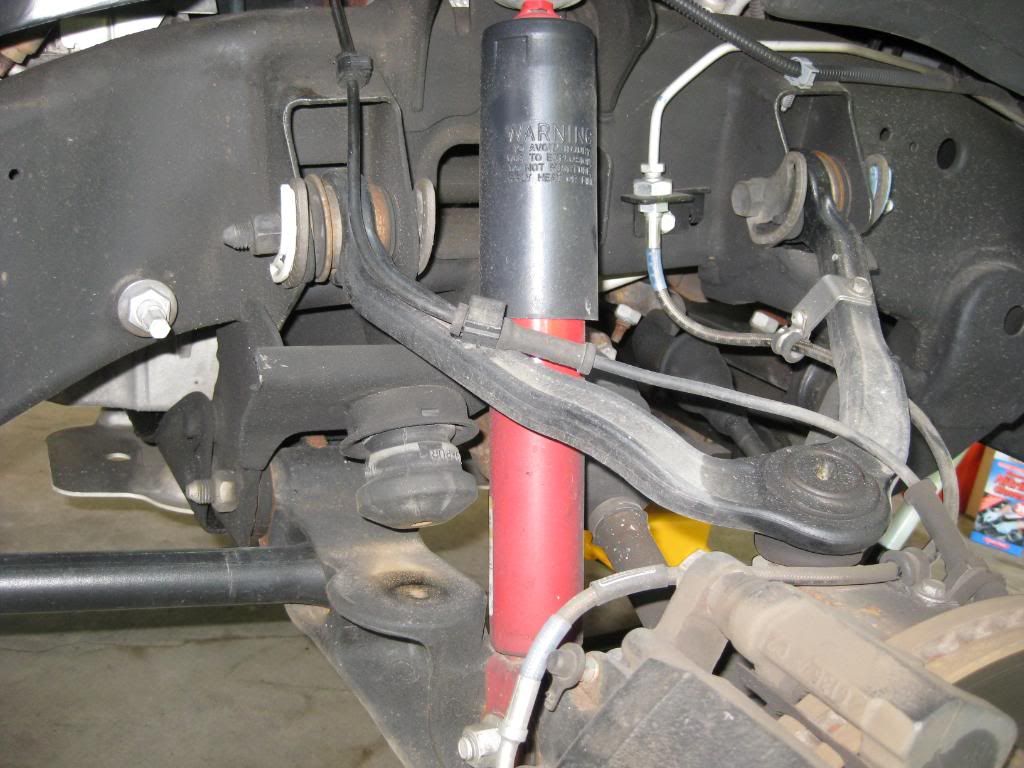
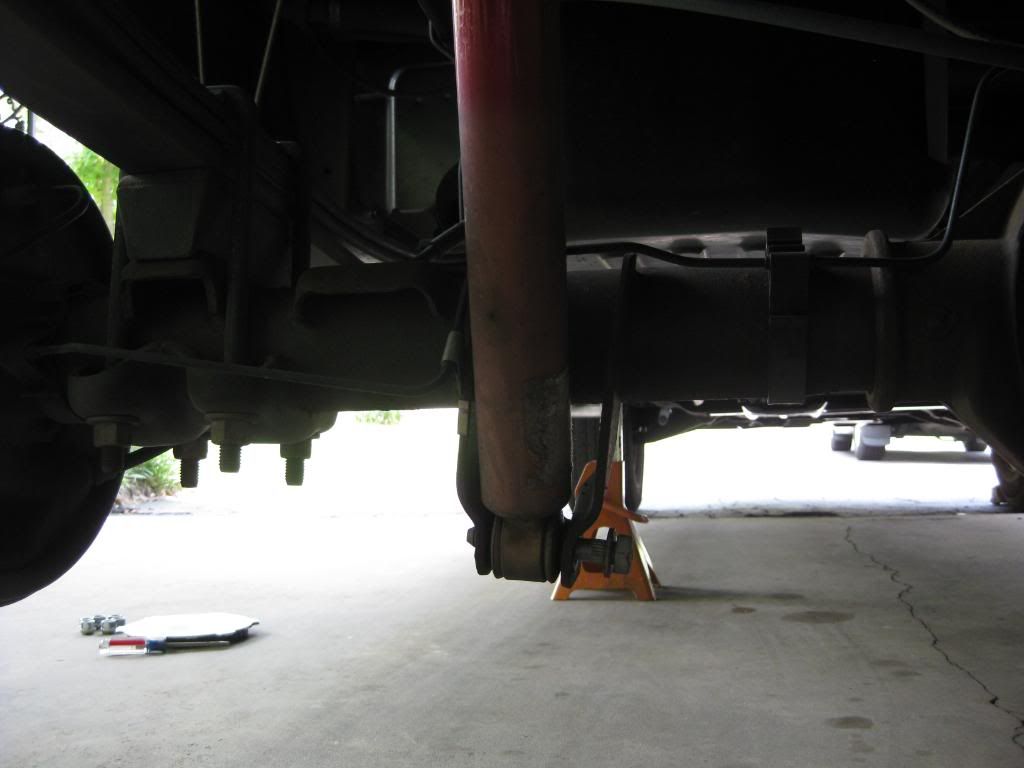
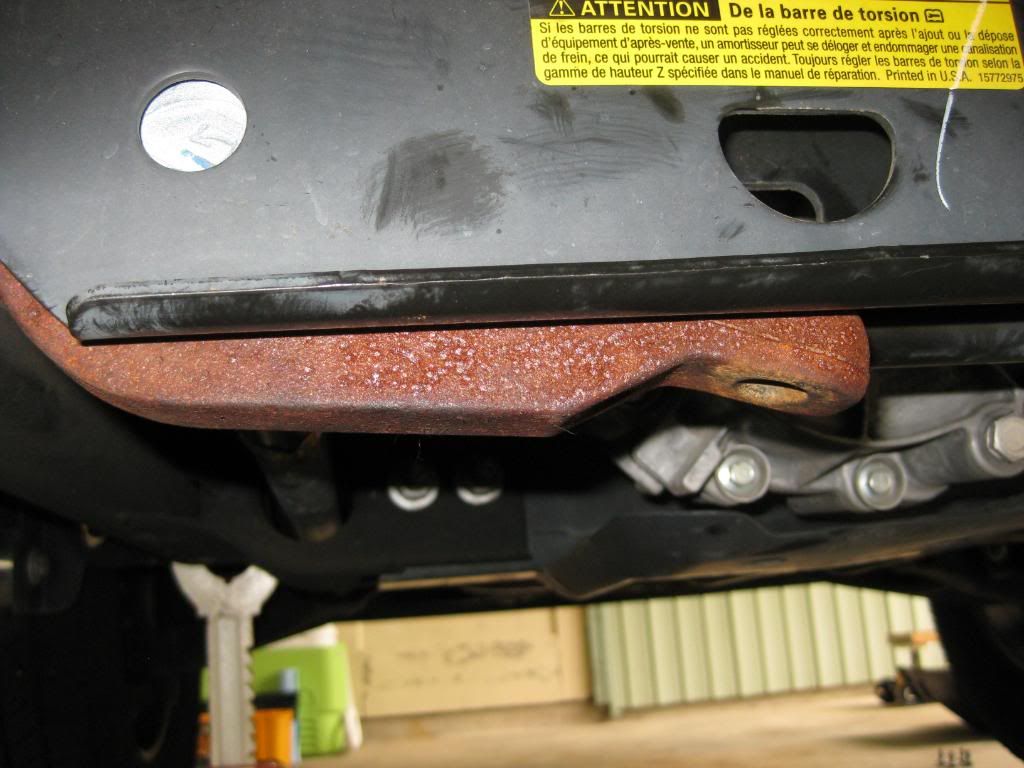
Then locate the cross member where the stock keys are located
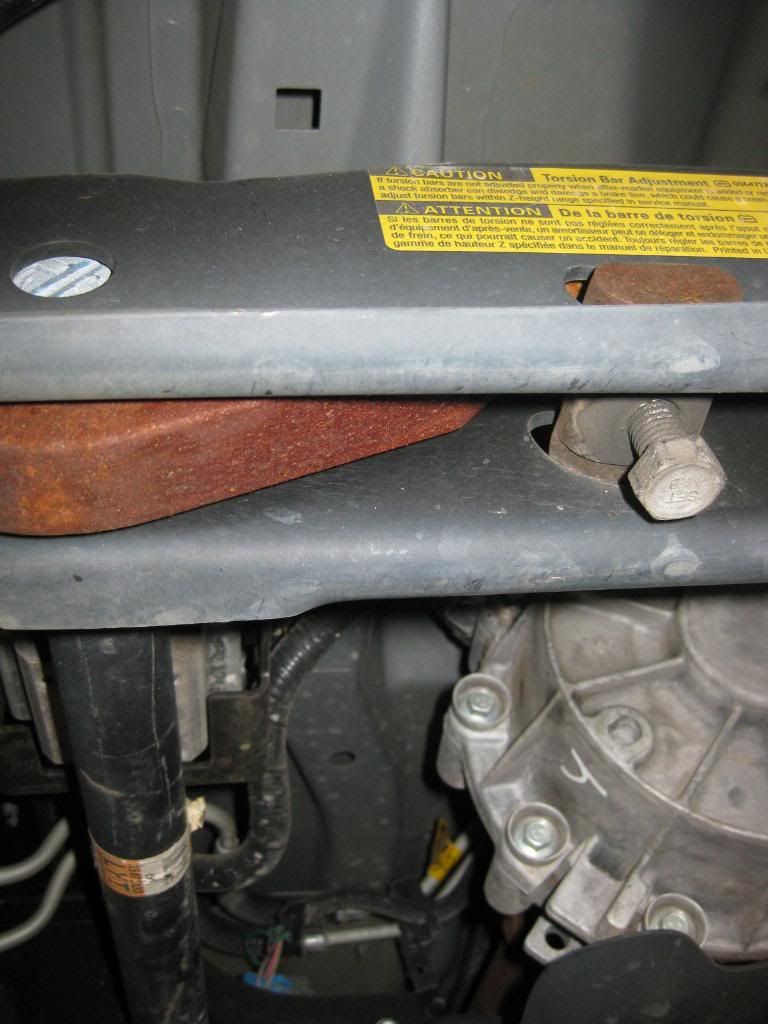
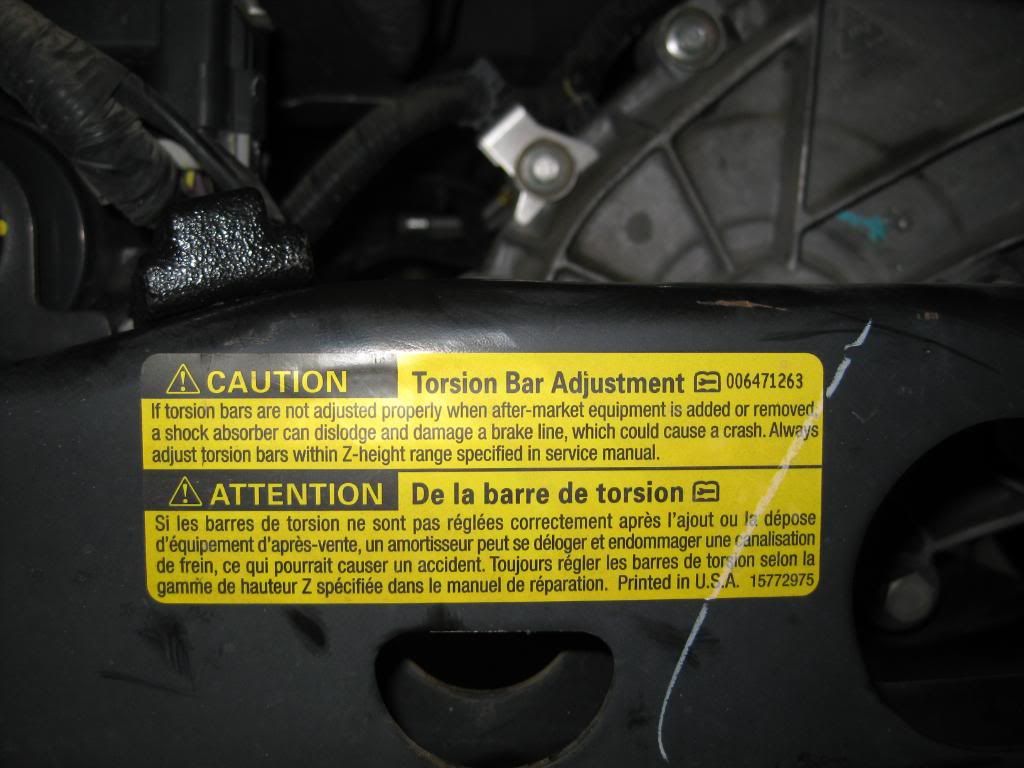
Always observe caution labels
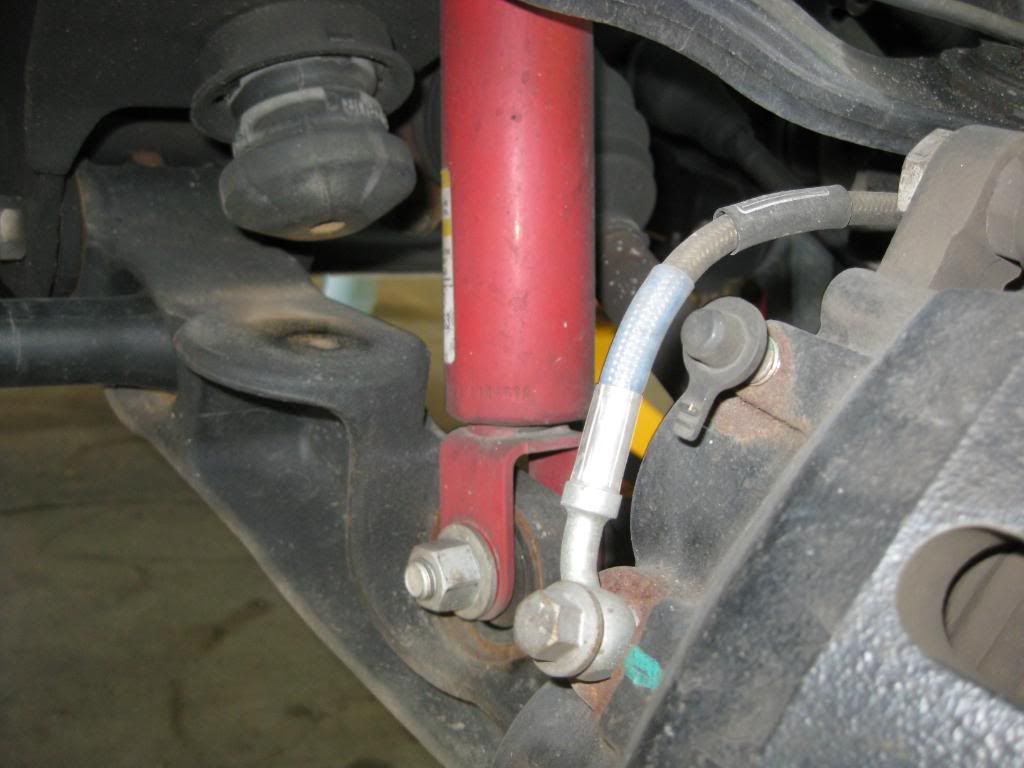
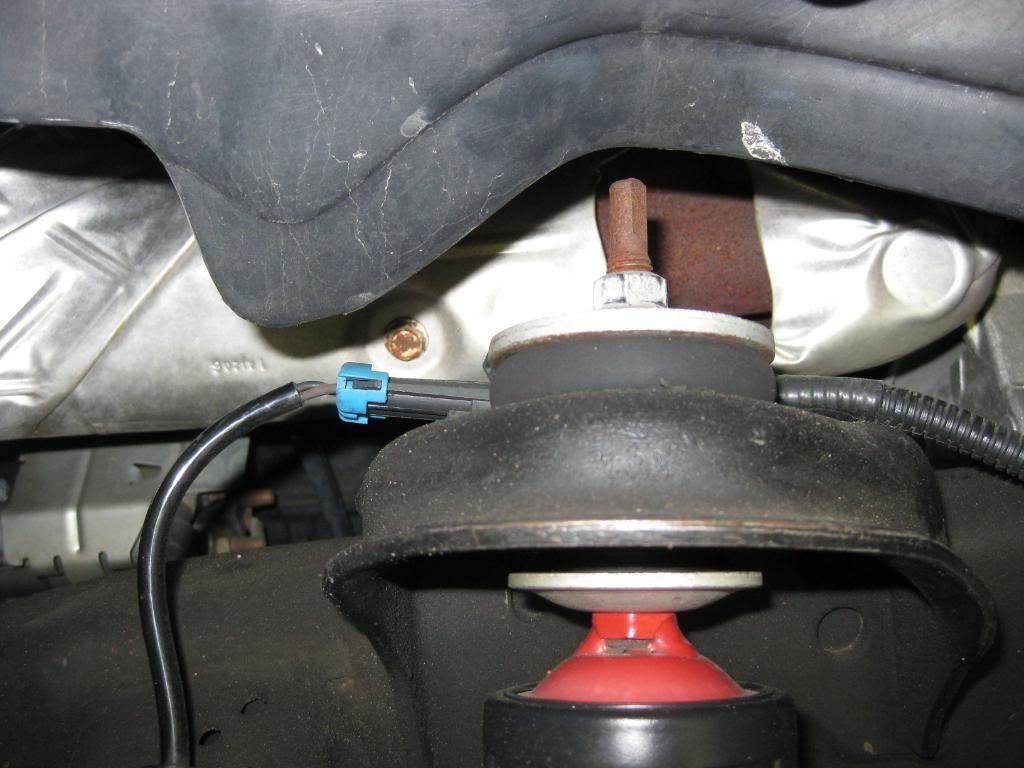
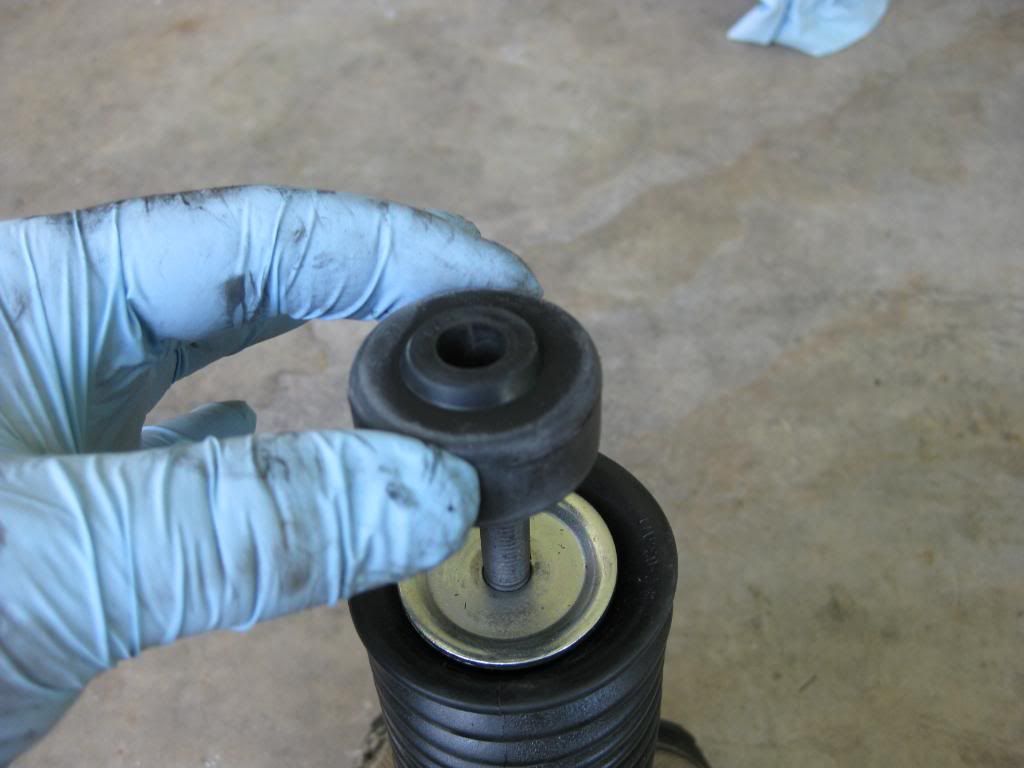
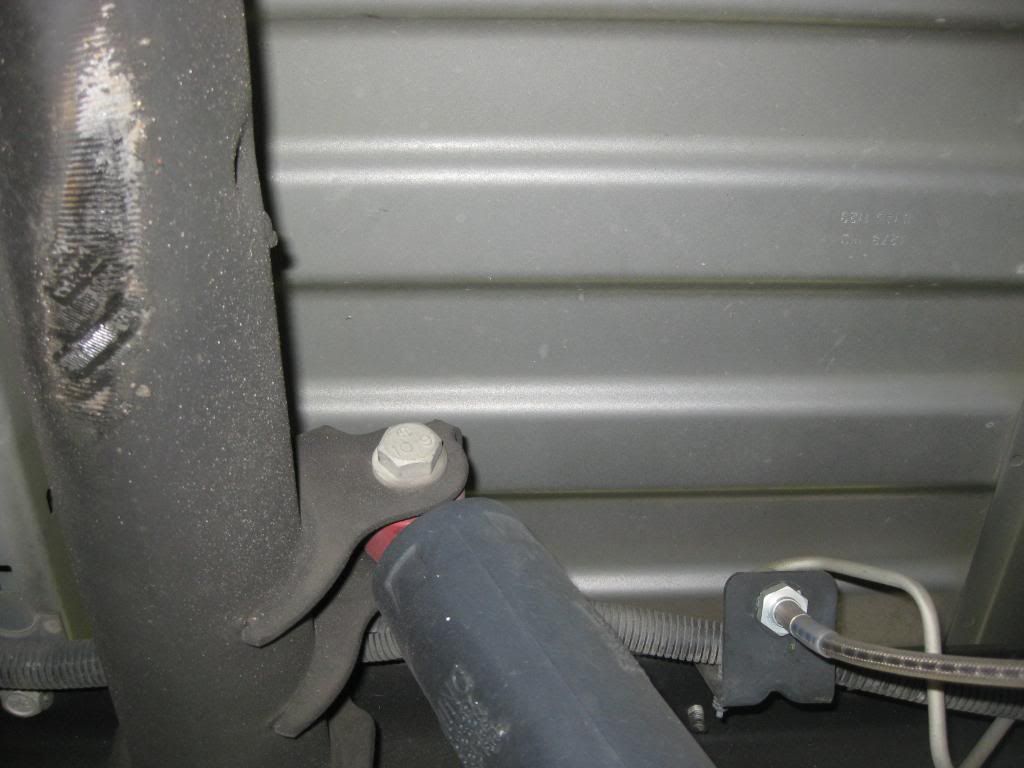
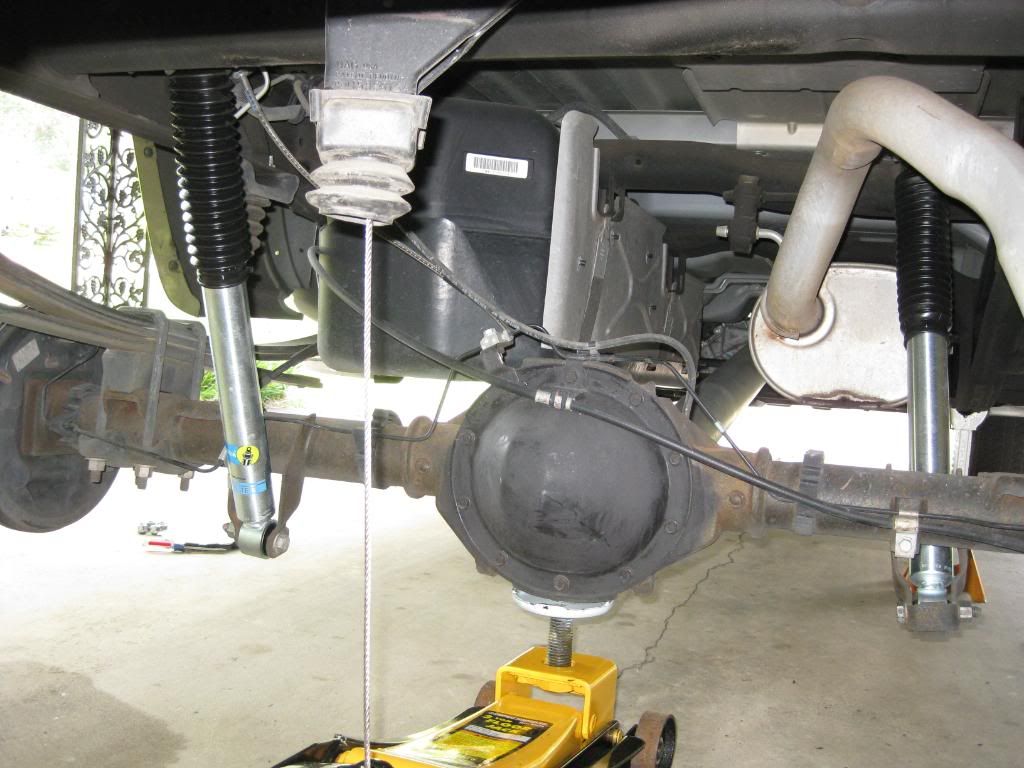
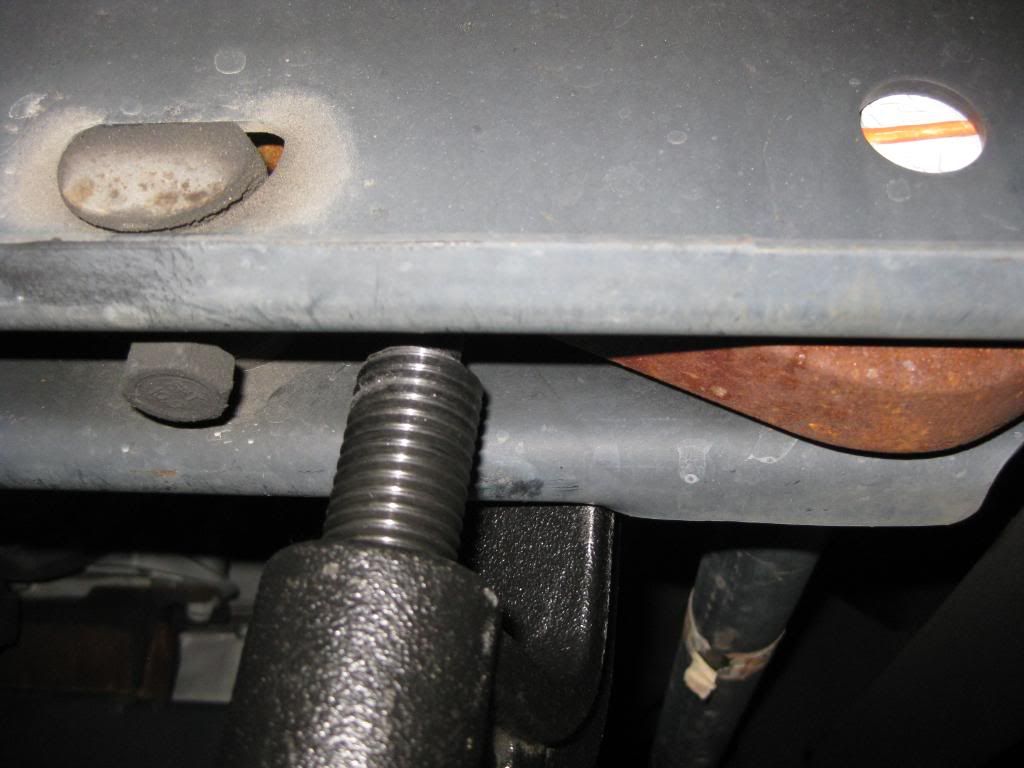
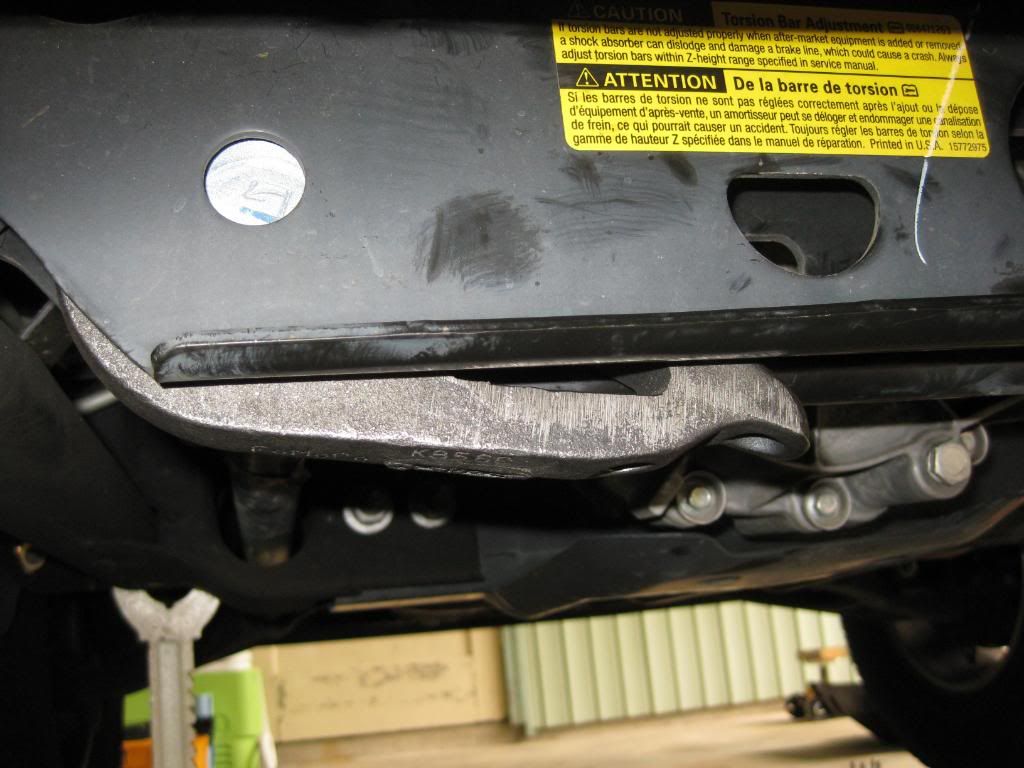
Mount the torsion bar unloading tool like so. Then use it to take the pressure of the bolt so it can be removed along with the mount it sits in.

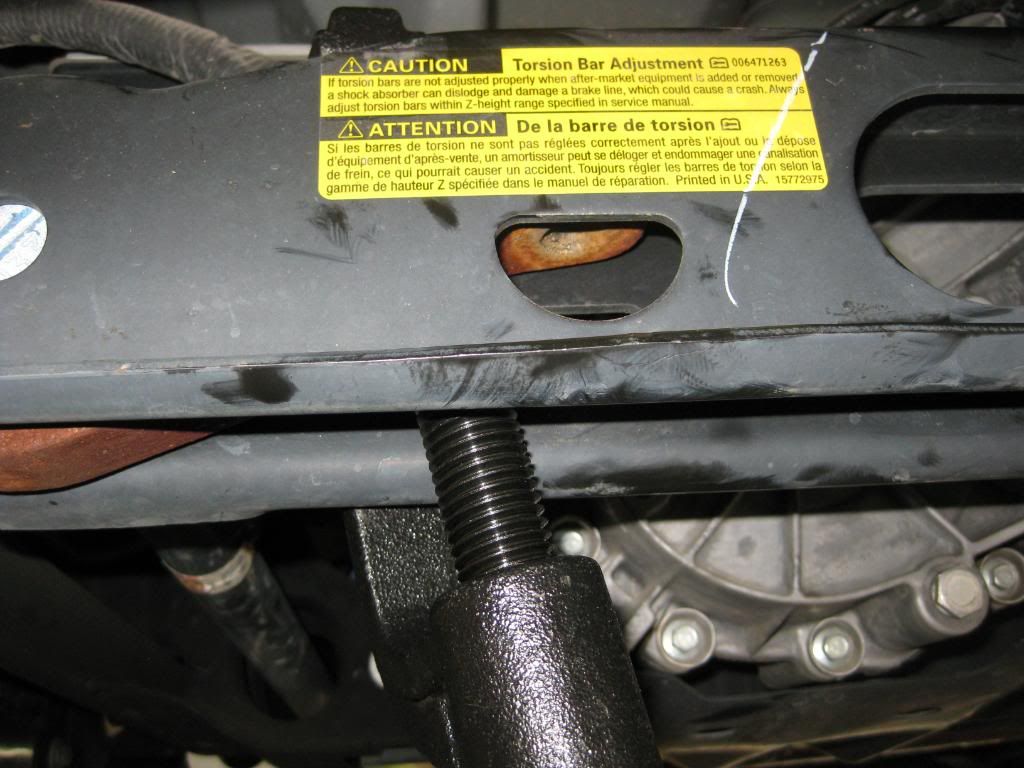
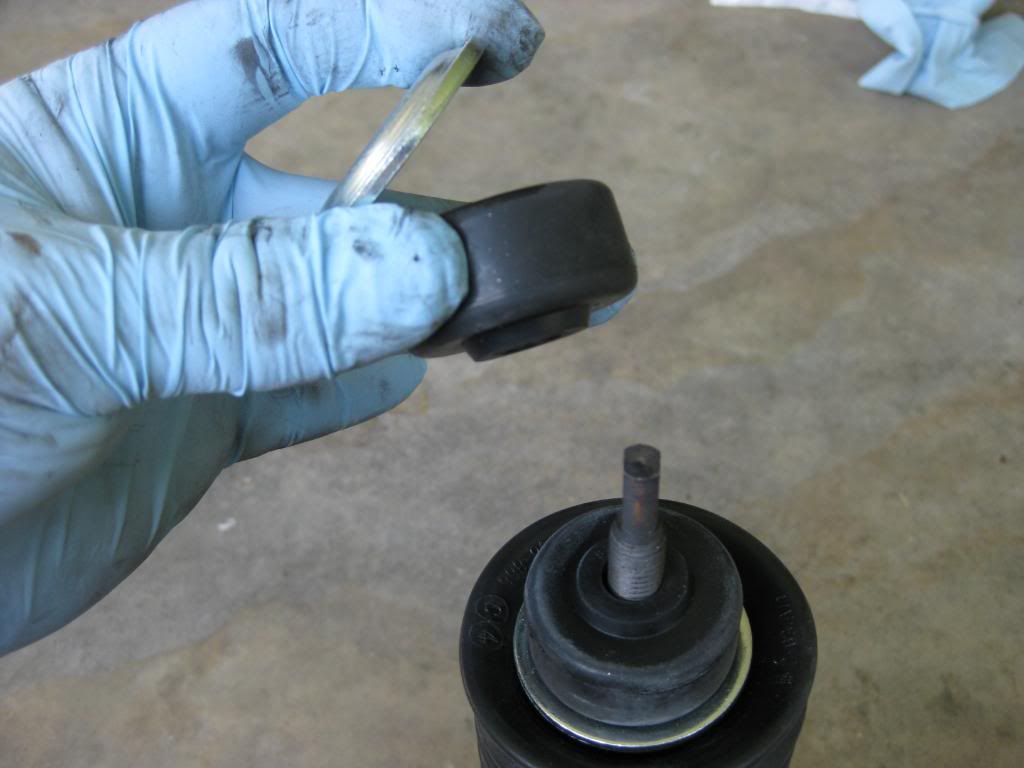
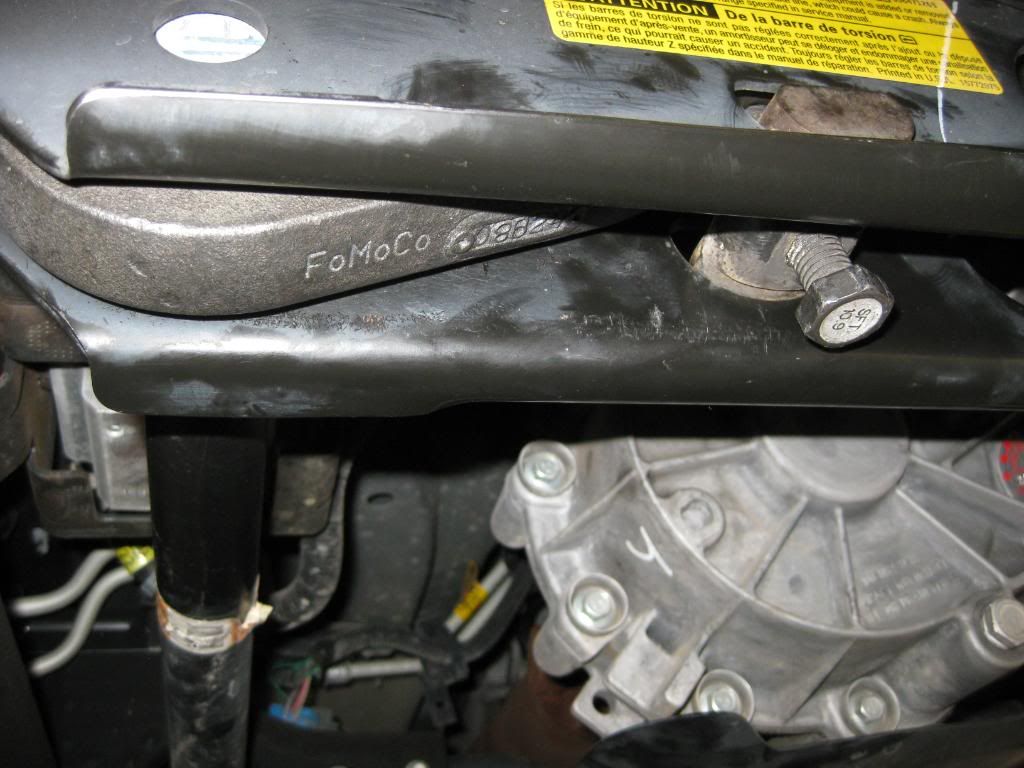
Once that's done, you may have to strike the key to break it loose from the torsion bar. Then, slide the torsion bar forward to allow the key to fall out.
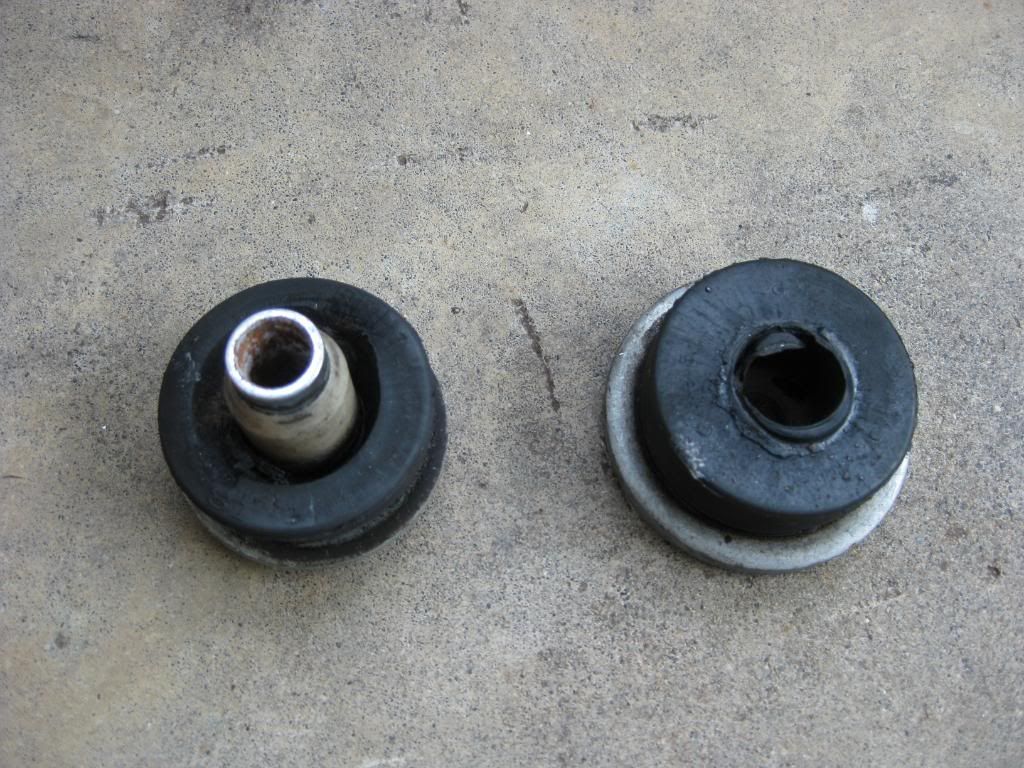
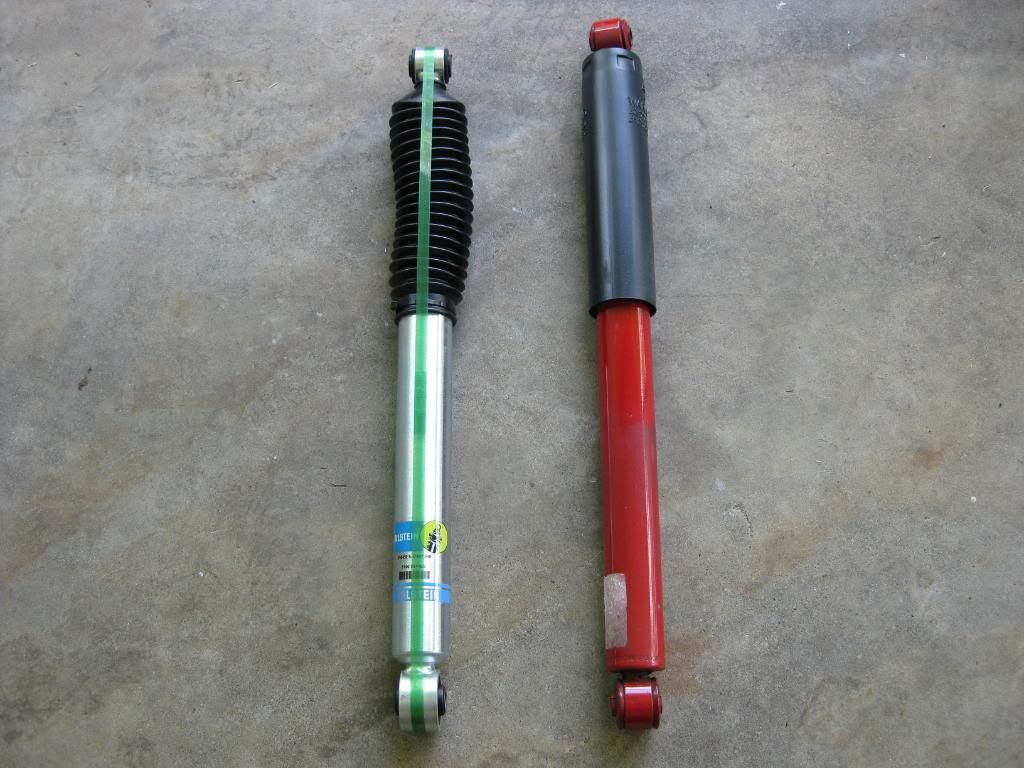
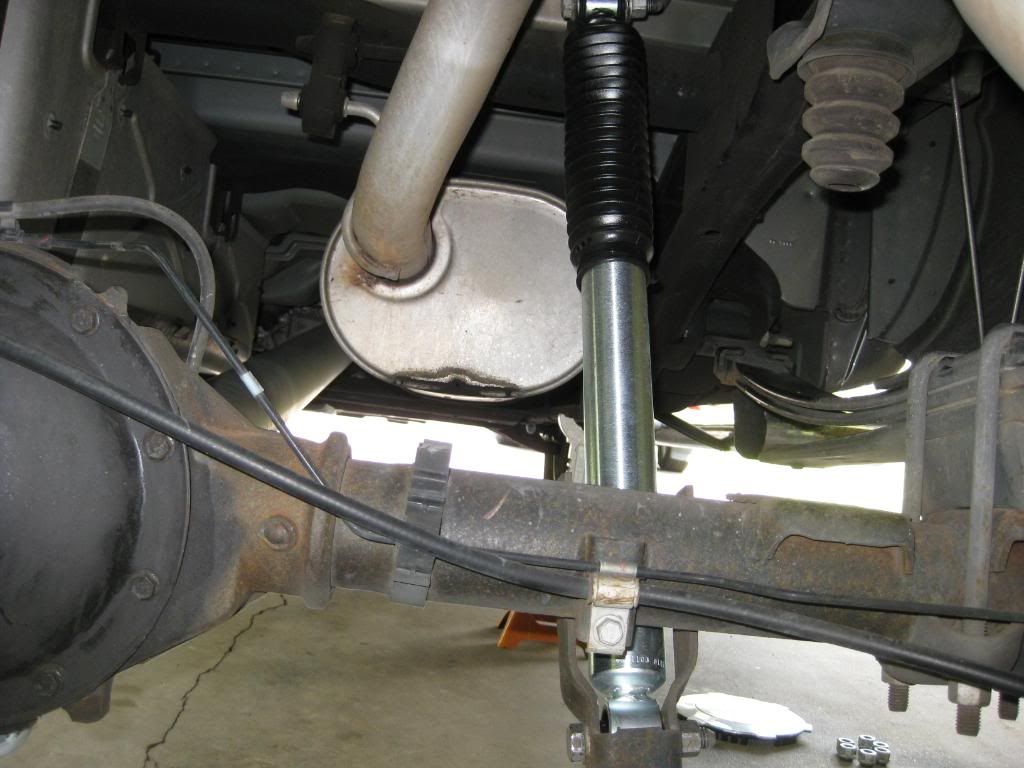
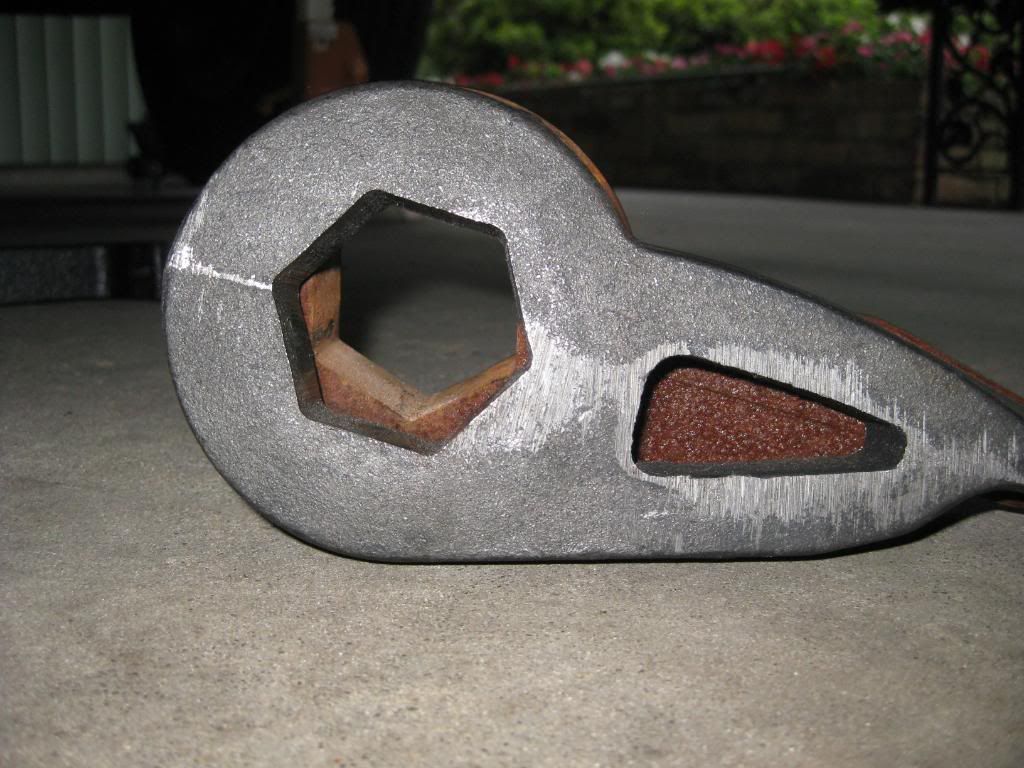
Here's some comparison pics of the two keys and how they sit in the cross member.
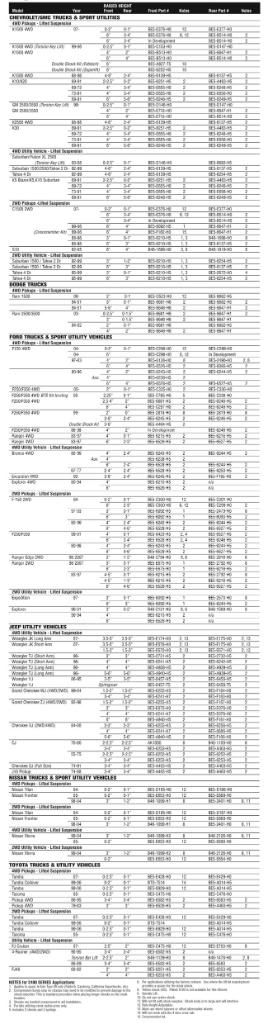
At this point, you'll have to do the fine tuning to get it to the height/ride quality you want. Be sure to try and keep the number of turns on the adjuster bolts the same. Then measure your fender height. Measure from the bottom of the wheel to the fender lip.
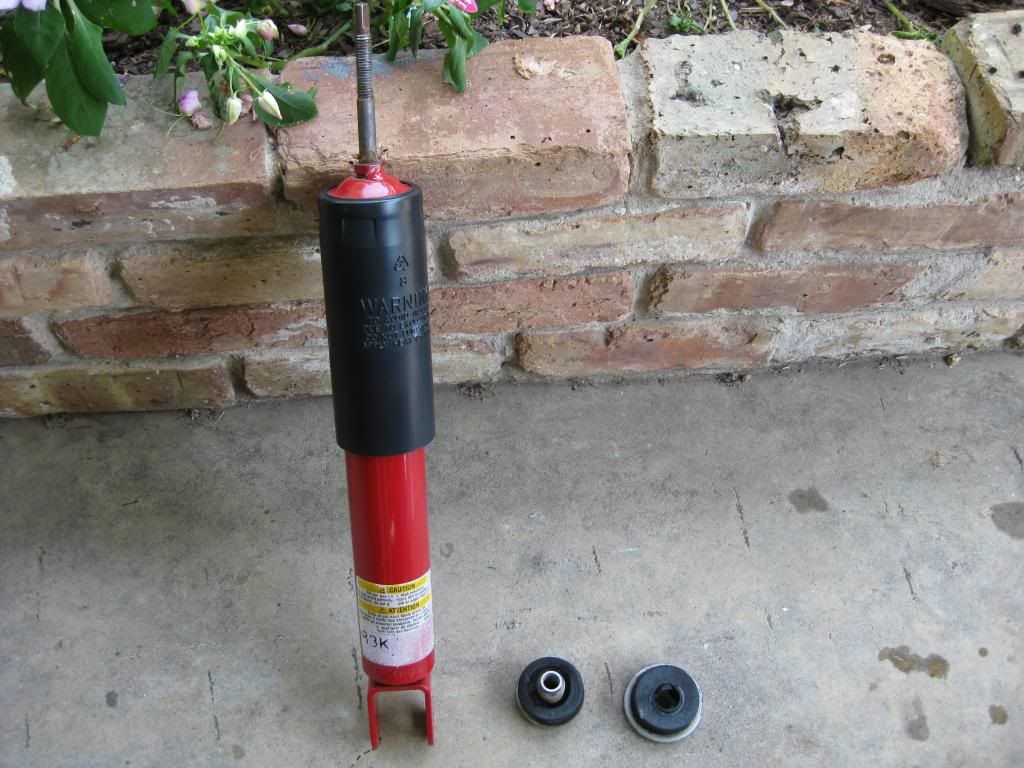
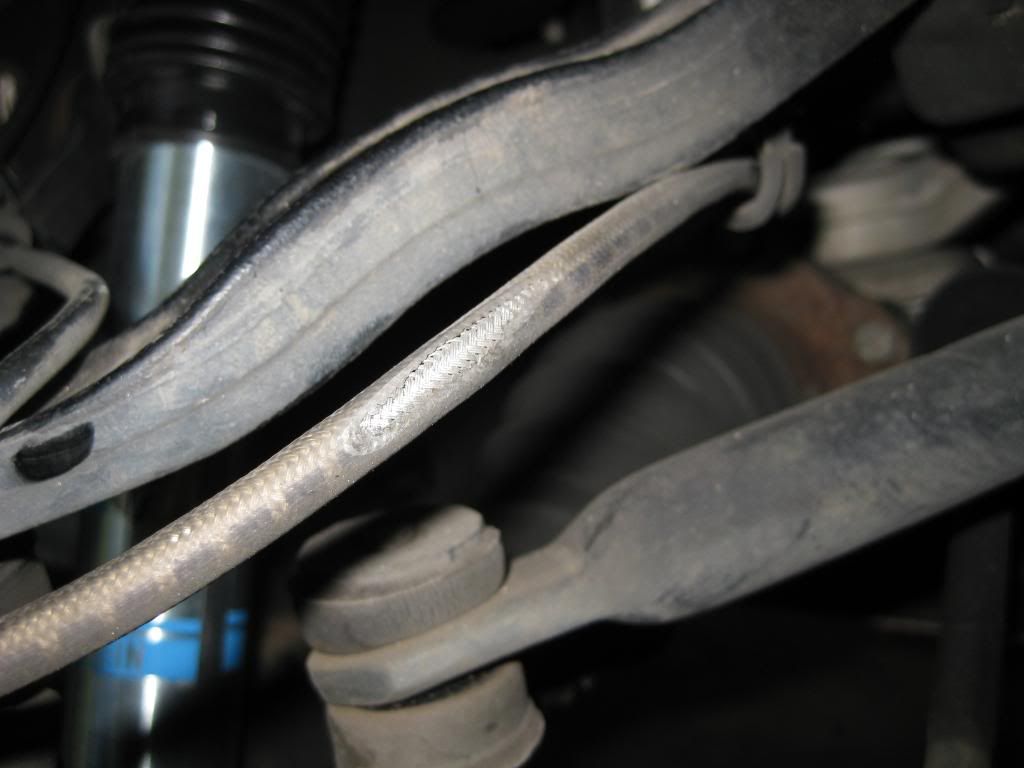
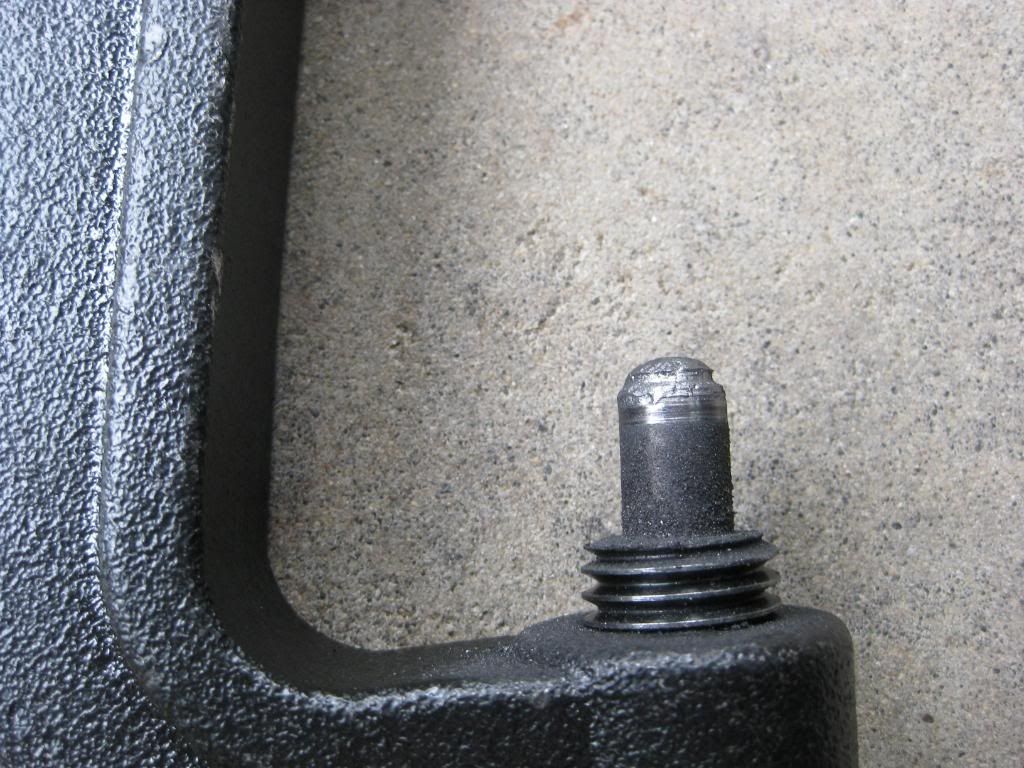
Here's what my unloading tool looked like when I finished. At one point, I thought I had stripped the threads.
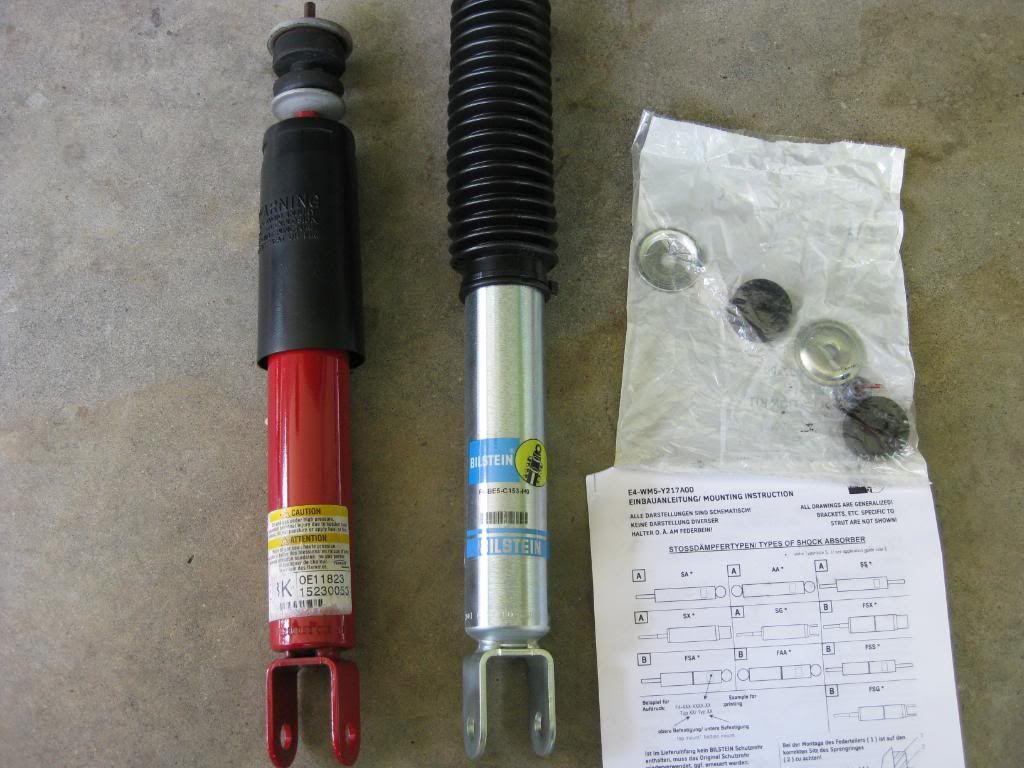
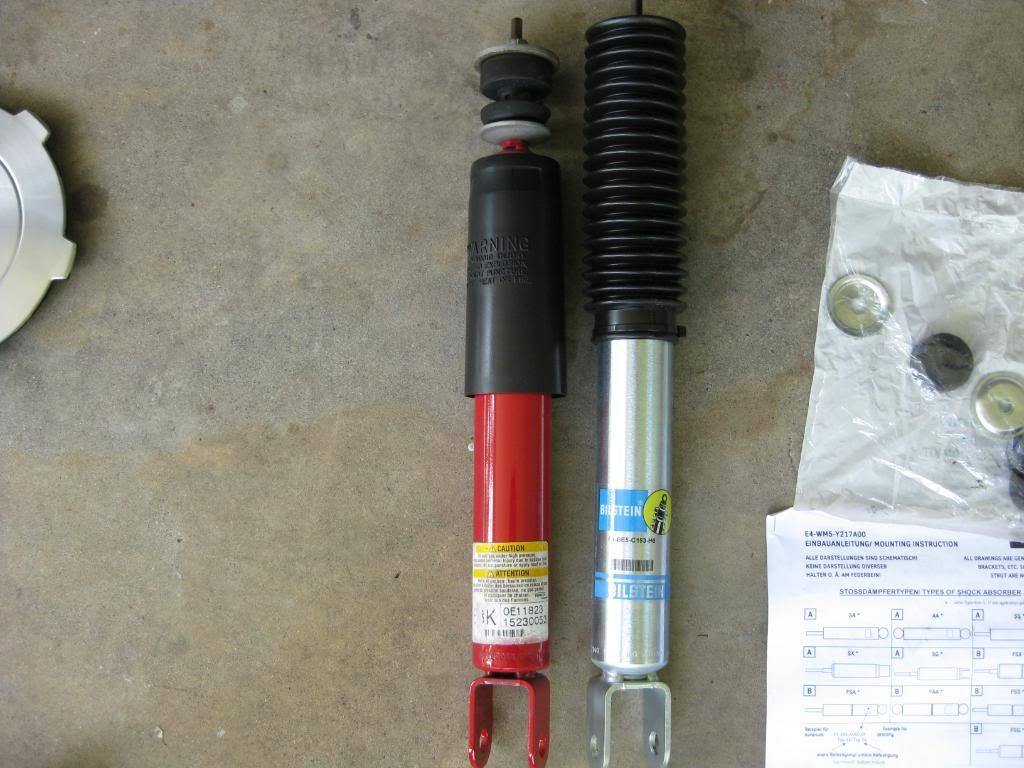
I'll cover the shocks in my next post.
First, I'll cover installing the torsion bar keys.
You'll need a set of Ford keys
Then locate the cross member where the stock keys are located
Always observe caution labels
Mount the torsion bar unloading tool like so. Then use it to take the pressure of the bolt so it can be removed along with the mount it sits in.
Once that's done, you may have to strike the key to break it loose from the torsion bar. Then, slide the torsion bar forward to allow the key to fall out.
Here's some comparison pics of the two keys and how they sit in the cross member.
At this point, you'll have to do the fine tuning to get it to the height/ride quality you want. Be sure to try and keep the number of turns on the adjuster bolts the same. Then measure your fender height. Measure from the bottom of the wheel to the fender lip.
Here's what my unloading tool looked like when I finished. At one point, I thought I had stripped the threads.
I'll cover the shocks in my next post.