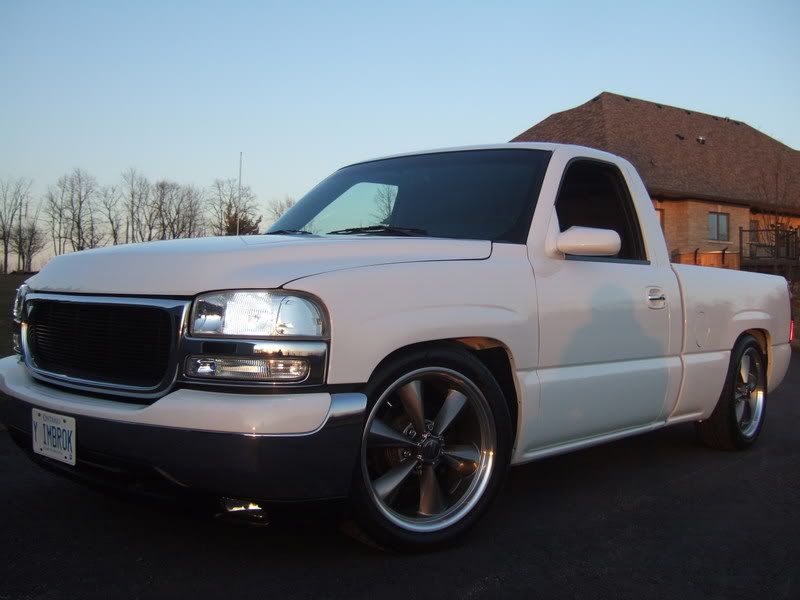
How did you get the headlights open?
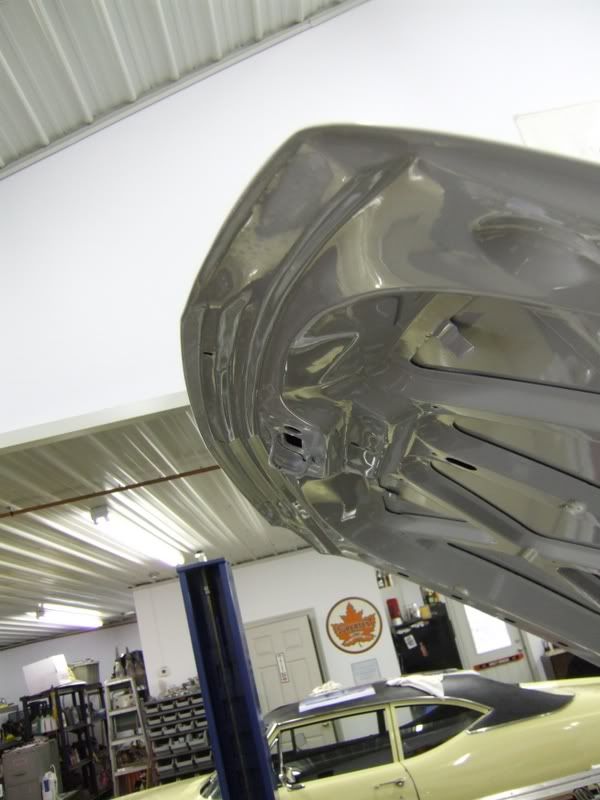
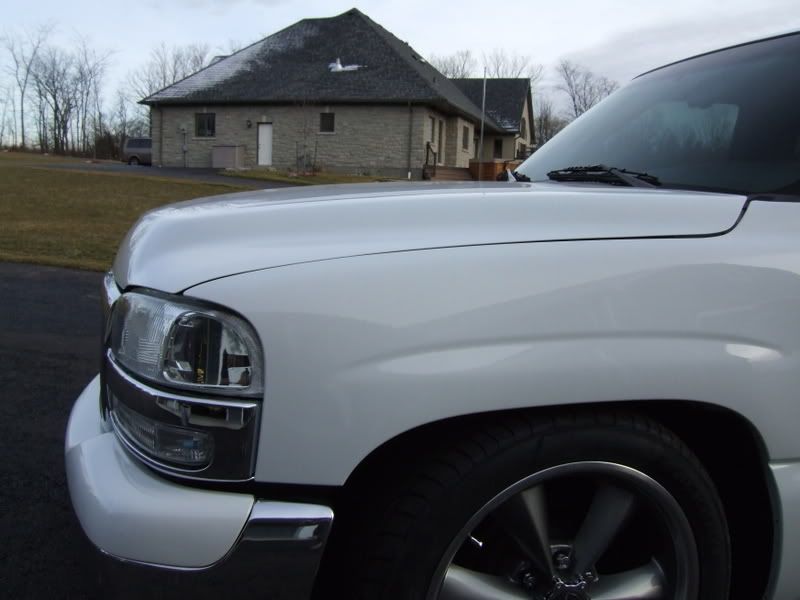
From this pic you can see the hood is a hair lower than the fender.
I'd just raise the rubber bumper to match the fender and you shouldn't have any issue with the hood hitting the lights.
I found several threads on clearing headlights, but the methods used were quite destructive, like this write-up:
How to clear NBS Denali headlights. - Chevy Truck Forum | GMC Truck Forum - GmFullsize.com
Since I'm kind of anal-retentive and didn't to take a dremel to my brand new headlights, what I did was set my heatgun to the highest setting (1000 deg F), and keeping it a safe enough distance away from the headlight, heated the edge of the housings for a solid 6-8 minutes, constantly moving so as not to melt anything. Then, using a medium-sized flat-tip screwdriver, started to pry on the reflector end of the headlight, pushing the front lens away from the back side of the headlight housing. Don't rush, the lens will eventually give, you may have to fire up the heatgun a few more times. You'll want to take your time as to prevent exerting too much pressure on the housing and breaking something.
Eventually, the lens will pop off, and you'll have a gray adhesive gasket left that you'll need to pull off. Easiest way to do this is to re-heat it to soften it and pull it off slowly so it comes off in as close to one piece as possible.
Once you've got the headlight open, all you need to do is give the reflector a quick tug and it'll come right off. Apply a bead of RTV silicone to the edge of the housing, put the lens back on, and either put something heavy on it or use some quick-clamps to keep pressure on the seal, then let it set for 24 hours.
As for the rubber hood bumpers, some amount of adjustment helped with the contact issue, but raising them too high definitely threw off the alignment of the front portion of the hood with respect to the fenders (when viewed from the sides).


")


